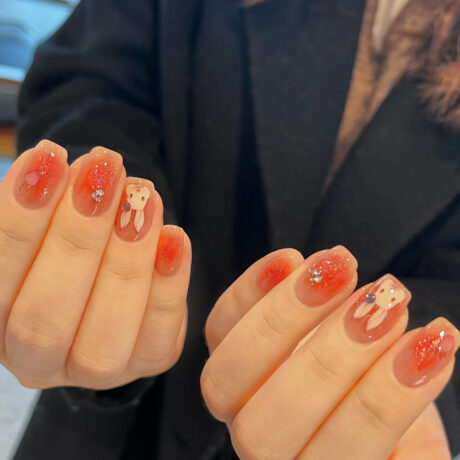
Does DIY Nail Glue Work?
DIY nail glue can effectively repair minor nail issues and offer a cheaper alternative to store-bought options. Homemade solutions may lack the same durability and adhesion but can serve well for temporary fixes. The ingredients like gelatin, cornstarch, and clear nail polish can create a functional adhesive. Following proper application techniques and taking necessary safety precautions are crucial. Understanding the comparison between DIY and commercial glue can help you make an informed decision. Factors such as ingredient quality and storage impact the effectiveness of DIY nail glue. Additional details about its longevity and tips for application are worth exploring further.
Key Takeaways
- Quality of ingredients impacts effectiveness.
- Proper mixing technique enhances adhesion.
- Storage in a cool, dry place prolongs shelf life.
- Frequency of use affects longevity.
- DIY nail glue can work for minor repairs.
Pros and Cons of DIY Nail Glue
When considering the effectiveness of DIY nail glue, it is essential to weigh the advantages and disadvantages associated with its use. Effectiveness evaluation of DIY alternatives reveals that while homemade nail glue can work well for minor repairs and temporary fixes, it may not always provide the same level of adhesion and longevity as commercially available products. This can be especially crucial for individuals looking for long-lasting results or dealing with more significant nail damage.
A cost comparison between DIY nail glue and store-bought options showcases potential savings when opting for homemade solutions. However, the trade-off might be a compromise in quality and durability. Additionally, the environmental impact is a critical factor to consider. DIY nail glue often involves common household items that may not be eco-friendly or sustainable, contributing to waste and pollution.
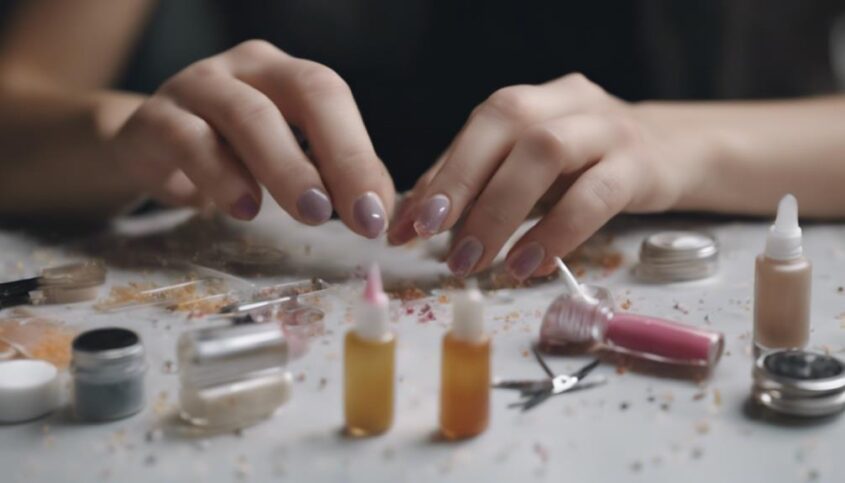
Common DIY Nail Glue Ingredients
Several common household items can serve as ingredients for making DIY nail glue. DIY nail glue can be created using easily accessible products, offering a more natural and cost-effective alternative to store-bought options.
Here are some common DIY nail glue ingredients:
- Gelatin: Known for its adhesive properties, gelatin can be dissolved in warm water to create a sticky solution for attaching artificial nails.
- Cornstarch: When mixed with water, cornstarch forms a thick paste that can be used as an adhesive for applying fake nails.
- Clear Nail Polish: Clear nail polish can act as a sealant to help secure artificial nails in place.
- Super Glue: Though not entirely natural, super glue can be a quick fix for temporary nail repairs.
When using these ingredients, it is important to take safety precautions, such as avoiding contact with eyes and ensuring proper ventilation. Additionally, these household items have alternative uses beyond nail glue, showcasing their versatility and practicality in DIY projects.
Step-by-Step DIY Nail Glue Recipe
Let's now explore the practical aspects of creating your own nail glue.
This segment will outline the necessary ingredients, the precise method of mixing them together, and the correct application process for achieving optimal results.
Ingredients for DIY Glue
Utilizing readily available household items, one can create a simple yet effective DIY nail glue solution. When considering DIY glue for nails, it's essential to keep in mind both its effectiveness and safety.
Here are some common ingredients you can use for making your own nail glue:
- Clear Nail Polish: Acts as the base of the glue, providing adhesion.
- Super Glue: Enhances the strength of the adhesive.
- Baking Soda: Helps quicken the drying process.
- Cornstarch: Adds thickness to the glue mixture.
These ingredients, when combined in the right proportions, can result in a satisfactory DIY nail glue that can be a cost-effective alternative to commercial products.
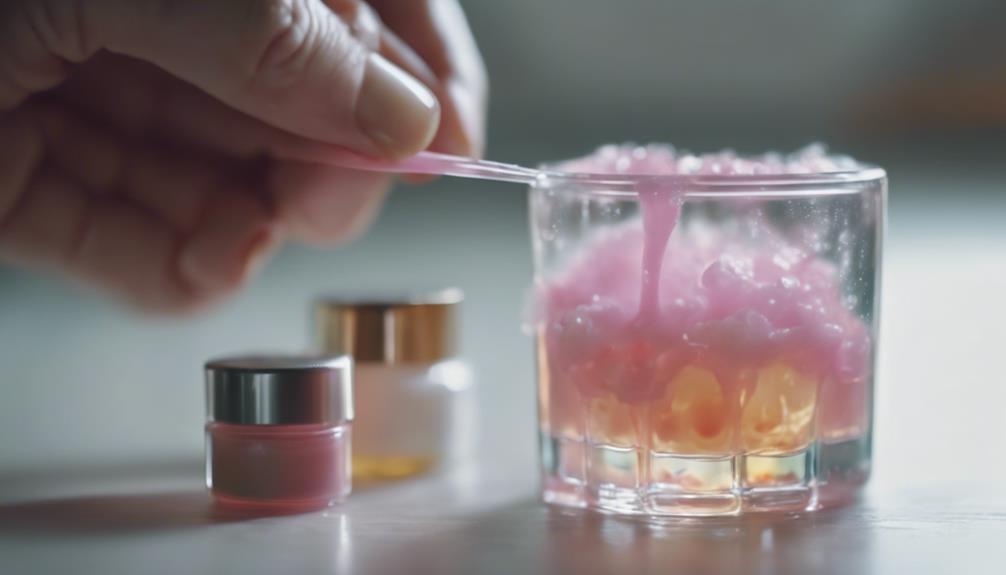
Mixing and Application Process
To create a durable and effective DIY nail glue, follow these precise steps for mixing and application. Begin by combining equal parts of clear nail polish and nail glue in a small container. Use a toothpick to stir the mixture thoroughly, ensuring it reaches a smooth consistency.
For best results, apply a thin layer of the DIY glue onto your natural nail before attaching the artificial nail. Press the artificial nail firmly onto the natural nail and hold it in place for a few seconds to allow the glue to set.
If you encounter any issues during the process, such as clumping or uneven application, try adjusting the proportions of the ingredients or stirring more vigorously. Experimenting with different mixing techniques can help troubleshoot any problems that arise.
Comparing DIY Vs Store-Bought Nail Glue
When considering DIY versus store-bought nail glue, it's crucial to examine the key points of differentiation. Factors such as the ingredients used, application techniques employed, and the overall longevity and durability of the adhesive are essential to compare.
DIY Nail Glue Ingredients
In comparing the ingredients used in DIY nail glue with those found in store-bought alternatives, it becomes evident that the formulation plays a crucial role in the adhesive properties of the product. When looking at DIY nail glue ingredients, here are some key points to consider:
- DIY Nail Glue Ingredients:
- Cyanoacrylate: Main adhesive component in store-bought glue.
- Methyl Methacrylate: Commonly used in professional nail products.
- Ethyl Cyanoacrylate: Provides flexibility and durability.
- Hydroquinone: Used as a stabilizer to prevent premature curing.
Understanding these ingredients can help DIY enthusiasts make informed decisions about the effectiveness and safety of their homemade nail glue.
Application Techniques Compared
Exploring the diverse application techniques between do-it-yourself (DIY) and commercially available nail glue provides insights into their respective usability and effectiveness.
DIY nail glue often involves using a small brush or applicator to apply the adhesive to the nail surface, allowing for precision and control over the amount used. In contrast, store-bought nail glues typically come with a built-in brush applicator for easy and quick application.
When comparing drying times, some DIY nail glue recipes may require longer drying periods due to variations in ingredients and formulations. Commercially available nail glues, on the other hand, are designed to dry quickly, reducing the waiting time before nails can be used.
Understanding these differences can help individuals choose the most suitable nail glue for their needs.
Longevity and Durability
Comparing the longevity and durability of do-it-yourself (DIY) nail glue with commercially available store-bought options provides valuable insights into their performance and sustainability over time. When evaluating the two, consider the following aspects:
- Adhesion Strength: DIY nail glue may offer comparable adhesion strength to store-bought options, depending on the materials used.
- Resistance to Water and Chemicals: Store-bought nail glues often provide better resistance to water and chemicals, ensuring longer-lasting manicures.
- Flexibility: DIY nail glue formulas can be adjusted for increased flexibility, potentially enhancing durability.
- Cost-Effectiveness: While store-bought nail glues are convenient, exploring DIY alternatives can be a cost-effective option for those willing to experiment with different formulations.
Exploring these factors can help determine the most suitable option based on individual preferences and needs.
Tips for Applying DIY Nail Glue
For optimal application of DIY nail glue, ensure that the nail surface is clean and dry before proceeding. Proper nail prep is crucial to the longevity and effectiveness of the adhesive. Before applying the DIY nail glue, make sure to thoroughly clean your nails with a gentle nail polish remover to eliminate any oils or residues that may hinder adhesion. Additionally, trim and shape your nails to your desired length and style for a professional finish.
When applying the DIY nail glue, it is essential to allow for adequate drying time. Hold the artificial nail firmly against your natural nail for at least 60 seconds to ensure a secure bond. Avoid excessive movement during this time to prevent any misalignment or detachment.
To maintain the quality of your DIY nail glue, store it in a cool, dry place away from direct sunlight. Proper storage can help extend the shelf life of the adhesive, ensuring it remains effective for future use.
How Long Does DIY Nail Glue Last?

When considering the longevity of DIY nail glue, it is essential to understand the factors that influence its durability and effectiveness over time. DIY nail glue durability and effectiveness can vary depending on how well it is made and stored. Here are some key points to keep in mind regarding the lifespan of DIY nail glue:
- Quality of Ingredients: The quality of the ingredients used in making the DIY nail glue can significantly impact its longevity.
- Proper Mixing Technique: Ensuring the DIY nail glue is thoroughly mixed according to the correct proportions can enhance its durability.
- Storage Conditions: Storing the DIY nail glue in a cool, dry place away from direct sunlight can help extend its shelf life.
- Frequency of Use: The more frequently the DIY nail glue is used, the quicker it may run out, affecting its overall longevity and effectiveness.
Frequently Asked Questions
Can DIY Nail Glue Cause Any Allergic Reactions or Irritations on the Skin?
Sensitivity testing is crucial when using DIY nail glue to assess potential allergic risks. Skin reactions such as irritations may occur due to the chemicals present. It is essential to be cautious and prioritize safety when experimenting with homemade nail products.
Is DIY Nail Glue Safe to Use on Natural Nails or Should It Only Be Used With Artificial Nails?
When considering the safety of DIY nail glue, it is crucial to evaluate its compatibility with natural nails. While DIY formulations may work for artificial nails, potential risks and reactions on natural nails should be thoroughly researched for safe application.
Can DIY Nail Glue Be Easily Removed Without Damaging the Nails?
The removal process of DIY nail glue should prioritize nail health. Careful consideration of ingredients used and application techniques can facilitate easier removal without damaging the nails, allowing for innovation in nail care practices.
How Does the Cost of Making DIY Nail Glue Compare to Buying Store-Bought Nail Glue?
In comparing the cost of making DIY nail glue to purchasing store-bought options, a thorough analysis must be done. Consider the ingredients' prices and quality, production expenses, and time investment for a comprehensive evaluation.
Are There Any Specific Storage Instructions for Homemade Nail Glue to Ensure Its Longevity and Effectiveness?
Proper storage is essential for maintaining the longevity and effectiveness of homemade nail glue. Storing DIY nail glue in a cool, dry place away from sunlight and extreme temperatures can help preserve its adhesive properties for optimal performance.
Conclusion
In conclusion, DIY nail glue can be a cost-effective and convenient alternative to store-bought options. While it may not always provide the same level of strength and longevity, it can still be a viable option for temporary fixes or emergency situations.
Just like a homemade recipe, DIY nail glue allows for customization and experimentation to find the perfect formula for your needs. Remember, with a little creativity and patience, DIY nail glue can be a handy tool in your beauty arsenal.