How Do You Prep Your Nails for Press Ons?

To prep your nails for press-ons, start by cleaning nails thoroughly. Soak them in warm, soapy water, then gently brush away impurities. Trim nails to a suitable length and shape, and care for cuticles. File and buff the nail surface for better adhesion. Push back cuticles and remove oils for a clean canvas. Apply a base coat and ensure nails are dry. These steps ensure your press-ons stay put and look flawless.
Key Takeaways
- Clean nails thoroughly to remove oils and impurities for better adhesion.
- Trim and shape nails appropriately for a suitable canvas for press-ons.
- Buff the nail surface gently to enhance adhesion and promote nail health.
- Push back cuticles and use cuticle oil for a clean, polished nail bed.
- Ensure nails are oil-free and completely dry before applying press-ons for longer wear time.
Clean Your Nails
Before applying press-on nails, ensuring that your natural nails are thoroughly cleaned is essential to achieve a long-lasting and flawless look. Proper nail hygiene involves more than just a quick rinse. To start, soak your nails in warm, soapy water to soften the cuticles and remove any dirt or debris. This step not only cleanses the nails but also promotes nail hydration, a crucial factor in maintaining nail health.
Next, use a gentle nail brush to scrub the nails, ensuring the removal of oils and any remaining impurities. Oils can prevent the press-on nails from adhering correctly, leading to premature lifting or loosening. After cleaning, dry your nails thoroughly to eliminate any moisture that could interfere with the adhesive.
Proper preparation sets the foundation for a successful application, so taking the time to clean your nails adequately will contribute to a seamless and long-lasting press-on nail experience.
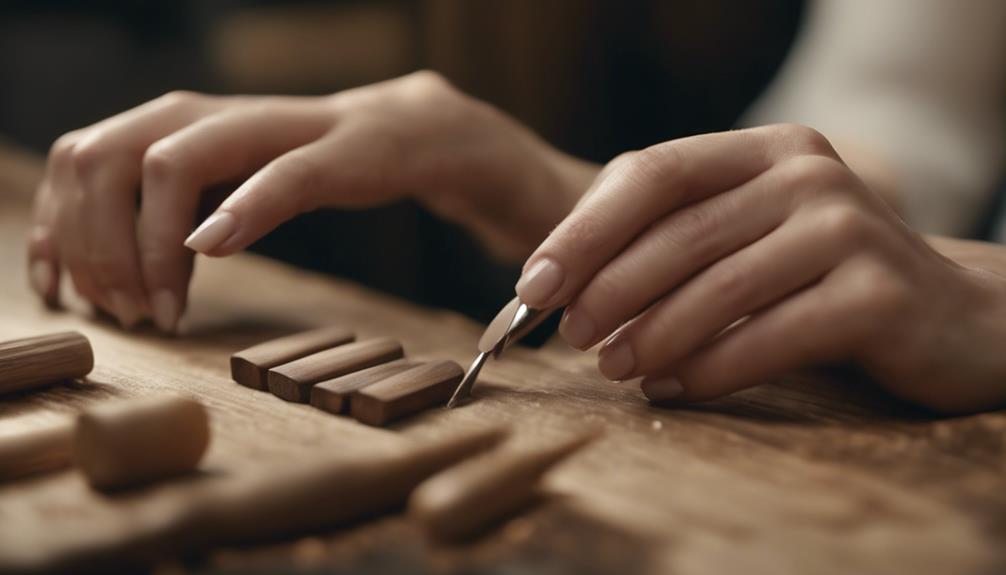
Trim and Shape
Properly trimming and shaping your nails is essential for achieving a polished look when applying press-ons. Pay attention to the length of your nails to ensure they are a suitable canvas for the press-on application.
Additionally, caring for your cuticles will help create a clean and professional finish.
Nail Length
Ensuring the appropriate length and shape of your nails is essential for a seamless application of press-on nails. When prepping your nails for this purpose, consider the following:
- Innovative Designs: Experiment with nail art that complements the press-on nails for a unique and trendy look.
- Custom Length Preference: Tailor the length of your natural nails to match the desired length of the press-on nails for a cohesive finish.
- Enhanced Nail Strength: Prioritize nail strength by trimming them to a suitable length to support the press-ons without breakage.
- Modern Nail Shapes: Explore modern nail shapes that align with current trends to elevate the overall aesthetic of your press-on nails application.
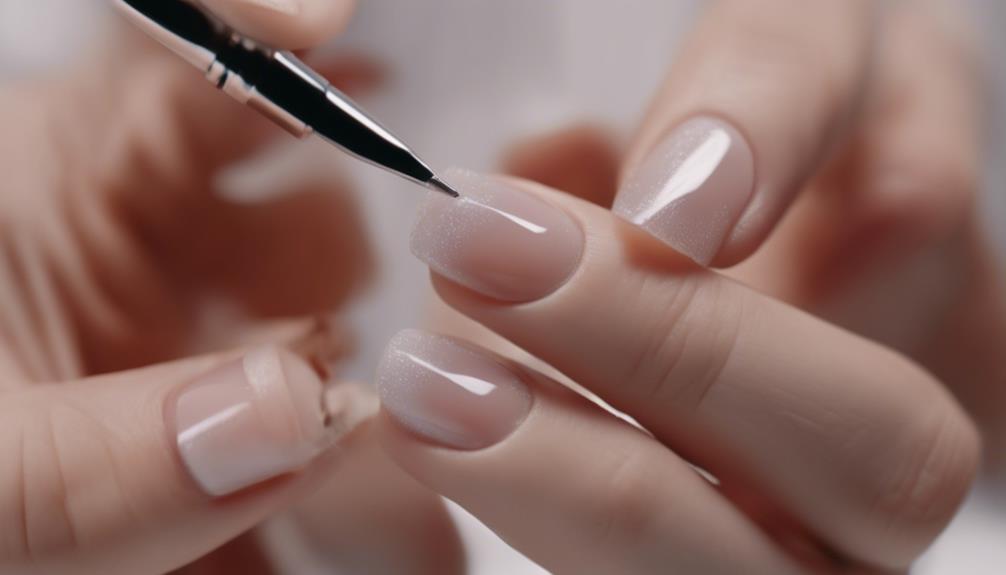
Cuticle Care
To prepare your nails for press-ons, it is crucial to meticulously trim and shape your cuticles for a polished and seamless application. Nail hydration is essential for maintaining cuticle health, ensuring they are soft and easy to work with.
Begin by soaking your fingertips in warm water to soften the cuticles, making them easier to trim. Gently push back the cuticles using a cuticle pusher to create a clean canvas for your press-ons. Avoid cutting too aggressively, as this can lead to irritation and potential infections.
Once the cuticles are tidied up, you can proceed with applying nail polish or nail art for a flawless finish that complements your press-on nails.
Gently File the Edges
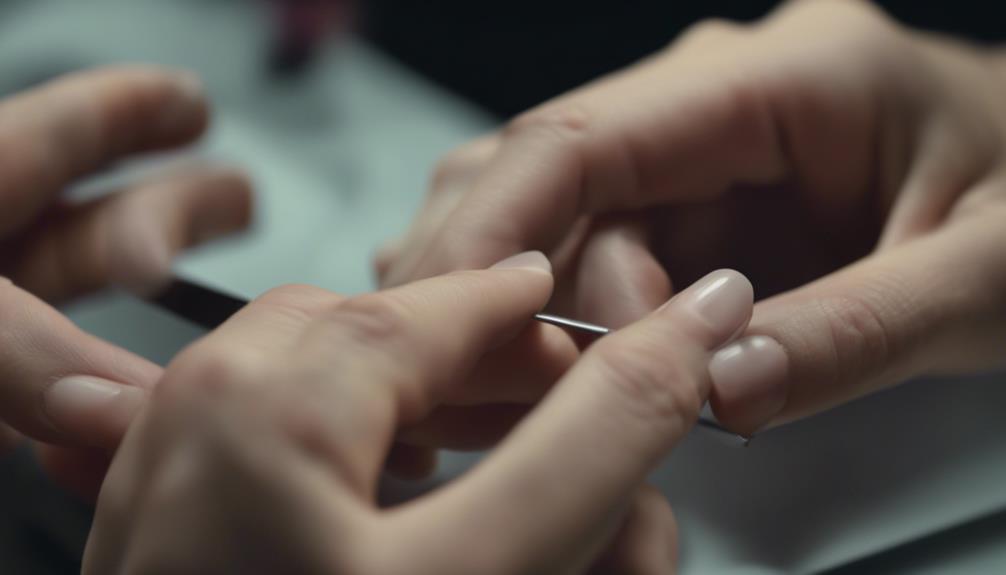
When preparing your nails for press ons, it's essential to focus on the details. Begin by trimming your cuticles with precision to ensure a clean and polished look.
Afterward, gently buff the surface of your nails to create a smooth canvas for the press ons to adhere to effectively.
Trim Cuticles Carefully
With precision and gentleness, carefully trimming the cuticles and gently filing the edges is a crucial step in preparing your nails for press-ons. Proper nail hydration and the use of the right tools are essential for achieving a flawless finish.
When considering professional vs DIY techniques, remember that nail health should always be a top priority. Embrace innovation and explore new ways to perfect your nail prep routine. Here are some tips to guide you:
- Prioritize nail hydration for a smoother application.
- Invest in high-quality tools for a professional finish.
- Explore innovative techniques to elevate your nail game.
- Remember, nail health is key to long-lasting press-ons.
Buff Nail Surface
After carefully trimming the cuticles to ensure a clean nail bed, the next step in prepping your nails for press-ons is to gently file the edges to buff the nail surface. Buffing the nail surface helps in enhancing nail hydration and strength, promoting overall nail health and growth.
By smoothing out any rough edges or ridges, the nail becomes a perfect canvas for applying press-on nails. This step not only improves the appearance of the nails but also ensures a better adhesion for the press-ons, leading to a longer-lasting and more professional finish.
Buff the Nail Surface
Prepping the nail surface by buffing helps create a smooth and even base for applying press-on nails. This step is crucial in ensuring the longevity of your nail polish and the overall strength of your nails. Buffing not only helps the press-ons adhere better but also promotes nail health, allowing for a flawless application. Here are some innovative tips to consider:
- Use a high-quality buffer: Invest in a professional-grade buffer to achieve a salon-like finish.
- Try different buffing techniques: Explore various buffing methods to find the one that works best for your nails.
- Experiment with buffing accessories: Incorporate nail buffing tools like buffing blocks or buffing creams for enhanced results.
- Consider nail art possibilities: Buffing opens up a world of nail art and design options, allowing for unique and creative press-on nail looks.
Push Back Cuticles
Pushing back cuticles is an essential step in preparing your nails for press-on application, promoting a clean and polished nail bed. Before pushing back your cuticles, ensure your nails are clean and free of any nail polish residue. This step not only enhances the appearance of your nails but also contributes to the overall health of your nails.
To push back your cuticles effectively, consider using a cuticle oil before gently pushing them back with a cuticle pusher. Cuticle oil application helps soften the cuticles, making it easier and less damaging to push them back. Furthermore, this process aids in nail hydration, keeping your nails healthy and strong.
Regularly pushing back cuticles can prevent them from growing over the nail plate and causing potential nail health issues. It is recommended to push back your cuticles gently and consistently to maintain clean and well-groomed nails. Remember, healthy cuticles are the foundation for a flawless press-on application.
Remove Any Oils
To ensure optimal adhesion of press-on nails, it is imperative to thoroughly remove any oils from the nail bed prior to application. Oils on the nail surface can create a barrier that hinders the adhesive properties of the press-on nails, leading to a shorter wear time and potential lifting. Here are some key steps to achieve an oil-free application for better nail health and longevity of wear:
- Use a nail polish remover: Swipe each nail with a cotton pad soaked in nail polish remover to eliminate any residual oils or old polish.
- Cleanse with soap: Wash your hands with soap and warm water to further cleanse the nail surface and remove any remaining oils.
- Apply rubbing alcohol: Dabbing rubbing alcohol on each nail can help strip away stubborn oils and ensure a clean, dry surface for the press-ons to adhere to.
- Use a nail dehydrator: Consider using a nail dehydrator product specifically designed to remove oils and prepare the nails for better adhesion.
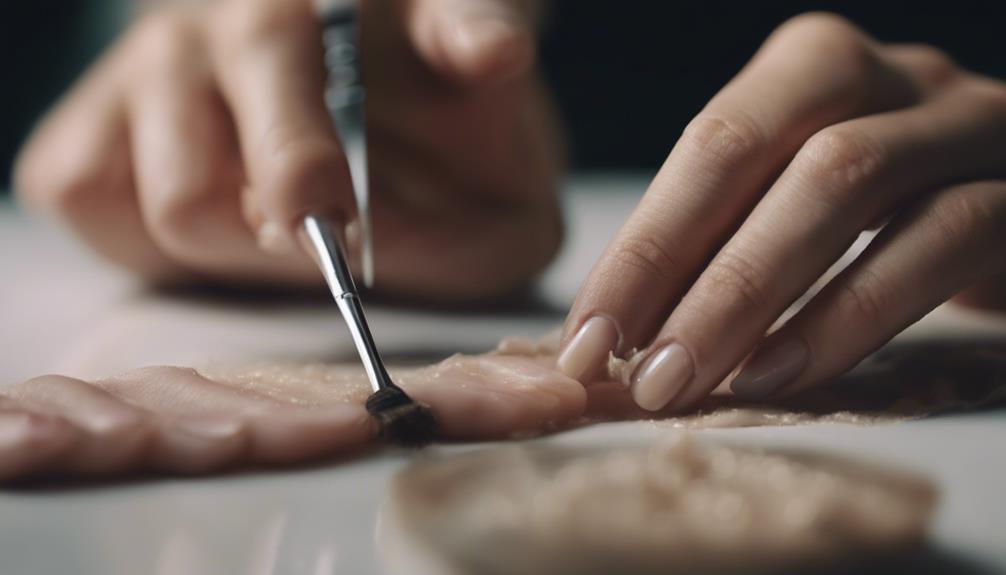
Apply a Base Coat
Applying a base coat is a crucial step in preparing the nails for press-on application, as it helps create a smooth and protective layer for optimal adhesion and long-lasting wear. When it comes to nail art and enhancing the longevity of your press-ons, the base coat plays a significant role. Before applying the base coat, ensure your nail surface is clean, dry, and free from any oils to promote better adhesion.
Choosing the right base coat is essential for the success of your press-on nails. Look for a base coat that is specifically designed to improve adhesion and provide a smooth canvas for your nail art. Additionally, opt for a base coat that is quick-drying to streamline the application process.
Furthermore, the base coat acts as a barrier between your natural nails and the press-ons, preventing any potential damage or discoloration. It also helps in easy removal of the press-ons without leaving any residue or causing harm to your nails. By investing time in applying a quality base coat, you set the foundation for flawless nail art and long-lasting polish selection.
Let Nails Dry
After applying the base coat, the next step in prepping your nails for press-ons is ensuring they are completely dry before proceeding with the application process. This step is crucial to achieve a flawless and long-lasting press-on nail look.
To enhance the nail drying process and promote nail health, consider the following:
- Nail Hydration: Hydrating your nails regularly can improve their flexibility and prevent breakage, promoting overall nail health.
- Quick Drying Solutions: Utilize innovative quick-drying products or techniques to expedite the drying process and save time.
- Moisturize: Keep your nails and cuticles moisturized to maintain nail strength and prevent them from becoming brittle.
- Nail Strength: Strengthen your nails by incorporating strengthening treatments or serums into your nail care routine, ensuring they are resilient and healthy for press-on application.
Frequently Asked Questions
Can Press on Nails Be Reused After Being Removed?
Press on nails can be reused after removal if properly maintained. To ensure longevity, clean the nails after removal, store them in a safe container, and avoid excessive bending. Follow a gentle removal process for best results.
How Long Do Press on Nails Typically Last?
Press on nails, with proper maintenance, can typically last up to two weeks. To extend their wear, apply a clear top coat every few days, avoid excessive exposure to water, and be gentle with your hands.
Can Press on Nails Damage Your Natural Nails?
Press-on nails can potentially damage natural nails if not applied or removed properly. To maintain nail health, consider DIY nail care practices like using gentle adhesive, avoiding rough removal, and allowing nails to breathe between applications.
Are There Specific Nail Shapes That Work Best With Press on Nails?
For optimal results when applying press on nails, consider the nail length and shape that complements your desired look. Different nail shapes, such as almond or square, can enhance the overall appearance of your press ons.
Can Press on Nails Be Used on Top of Nail Extensions or Gel Polish?
Innovative nail care techniques allow for the application of press-on nails over nail extensions or gel polish. This fusion of nail artistry provides a convenient and versatile approach to enhancing your manicure, offering endless possibilities for creative expression.
Conclusion
In conclusion, preparing your nails properly before applying press ons is essential for a long-lasting and flawless look.
By following the steps of cleaning, trimming, filing, buffing, pushing back cuticles, removing oils, and applying a base coat, you ensure that the press ons adhere smoothly and stay in place.
This process creates a strong foundation for your press ons to adhere to, allowing you to enjoy beautiful nails without worrying about them coming off.