How do you prepare for a kiss press on nails?
In the world of nail fashion, press-on nails are sweeping the beauty world. They are a quick and easy way to get stunning, salon-worthy nails without the hassle of a traditional manicure. With so many to choose from, Kiss Press-On Nails stands out for their quality and versatility. If you’re unfamiliar with using press-on nails or looking to improve your nail art skills, this guide will walk you through everything you need to know to prepare your nails for Kiss Press-On Nails. Get ready to show off those fabulous fingertips!
1. Gather your supplies
Before you start the nail application process, it is important to have all your supplies ready. Here’s what you’ll need:
- Kiss press-on nail kit
- Nail glue or adhesive tabs
- Nail file
- Cuticle pusher
- Topical alcohol
- Cotton balls or pads
- Nail clippers (optional)
- Nail polish (optional)
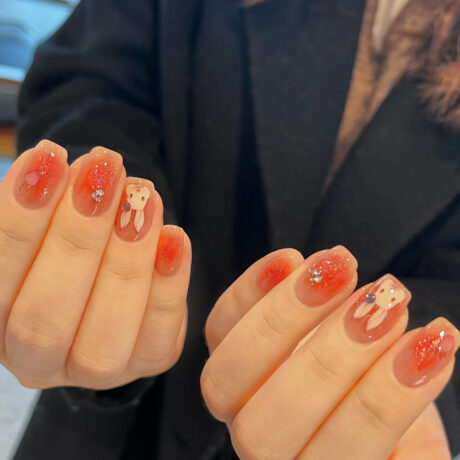
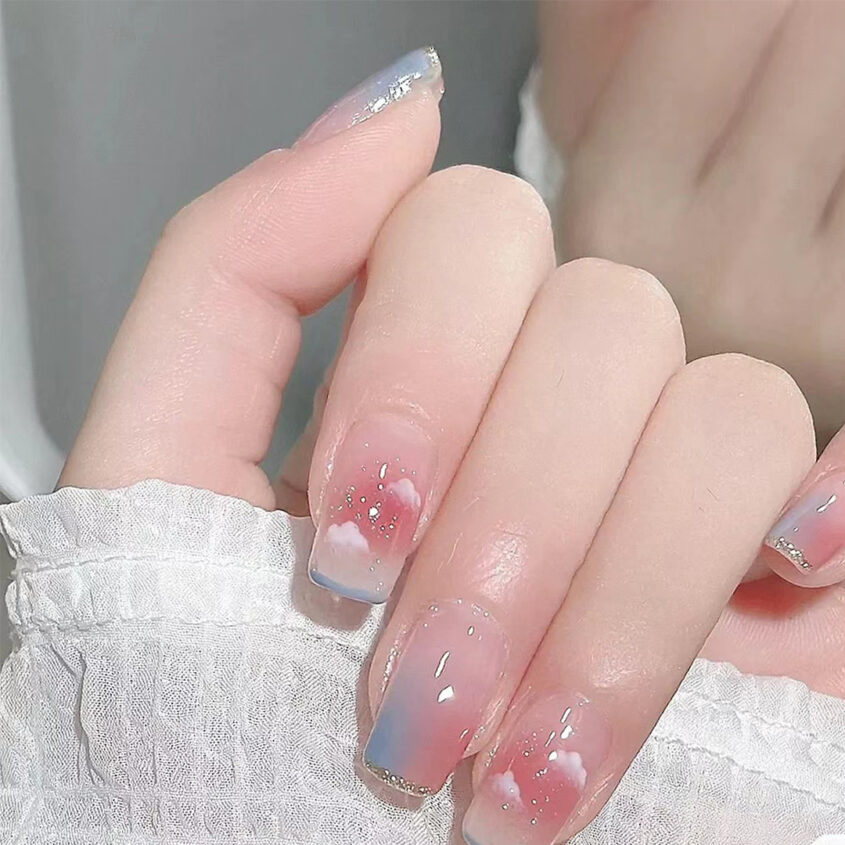
2. Choosing the right size and style
Kiss offers press-on nails in a variety of sizes and styles to suit your preferences. Take the time to choose the best fit for each of your nails. You can even mix and match styles to create a unique look.
3. Prepare your natural nails
Properly preparing your natural nails is essential for long-lasting press-on nail applications. Follow these order:
A. Remove Old Nail Polish
If you already have nail polish, clean your nails thoroughly with nail polish remover and a cotton ball.
b. Trim and shape
If your nails are too long, trim them and use a nail file to shape them to your desired length and style.
c. push back cuticles
Use a cuticle pusher or orange stick to gently push back the cuticle.
4. Clean nails
To ensure a strong bond, clean your nails with alcohol. This step removes any oil or residue that may interfere with bonding.
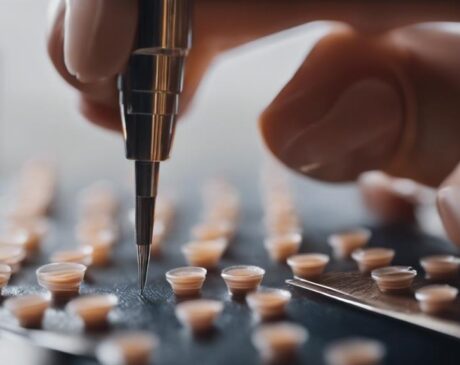
5. Apply Kiss Press Nails
Now it’s time to apply Kiss Press-On Nails:
A. Apply Nail Glue
Apply a small amount of Nail Glue to the back of the Press-On Nail and press it onto the natural nail. Hold it in place for a few seconds to allow the glue to set.
b. Use adhesive labels (optional)
Adhesive labels are a great option if you don’t want to use glue. Simply adhere the label to your natural nail and press the press-in nail.
6. Shape and customize
Once you have completed all of your press-in nails, you can further customize your look by shaping your nails or applying nail polish for extra style.
7. Maintenance and Removal
Kiss Press-On Nails are designed to stay in place for a long time. However, if you need to remove them, follow the steps below:
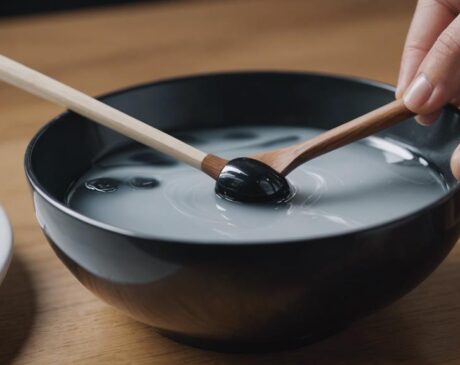
A. Soak in warm water
Soak the nails in warm soapy water for a few minutes to loosen the adhesive.
b. Gently pry off
Using a cuticle pusher, gently pry off the pressed-in nail starting from the side.
With the right preparation and a little creativity, you can create stunning nails with Kiss Press-On Nails. Whether you’re prepping for a special occasion or just looking to enhance your everyday look, press-on nails offer endless possibilities. So go ahead and embrace the convenience and style that Kiss Press-On Nails offers you!
Frequently Asked Questions
1. Are Kiss Press-On Nails Reusable?
Yes, Kiss Press-On Nails are reusable if removed carefully. Follow the removal instructions and you can enjoy them many times over.
2. Can I apply Kiss Press-On Nails on my natural nails?
Yes, you can apply Kiss Press-On Nails on your natural nails. Just make sure to prepare your natural nails correctly to get the best results.
3. How long does Kiss Press-On Nails last?
Kiss Press-On Nails can last up to two weeks or more, depending on how well they are applied and how you treat them.
4. Can I use regular nail polish over Kiss Press-On Nails?
Yes, you can apply regular nail polish over Kiss Press-On Nails to further customize your look.
5. Where can I purchase Kiss Press-On Nails?
You can find Kiss Press-On Nails at most drugstores, beauty supply stores and online retailers.