How Do You Prepare Your Nails for Nail Glue?
To prepare your nails for nail glue, start with a thorough nail inspection to ensure they are clean, dry, and smooth. Trim, shape, and buff your nails for a perfect canvas. Take care of your cuticles by moisturizing and gently pushing them back. Clean your nails with a soft brush and mild soap, making sure they are dry for better adhesion. Shape your nails appropriately and buff to remove ridges. Wash your hands properly before applying nail glue and ensure your nails are completely dry. These steps set the foundation for a flawless manicure.
Key Takeaways
- Clean and dry nails thoroughly before applying nail glue.
- Trim, shape, and buff nails to create a smooth surface.
- Gently push back cuticles and moisturize for healthy nail beds.
- Use a soft brush and mild soap to remove impurities.
- Ensure nails are completely dry to optimize glue adhesion.
Nail Inspection
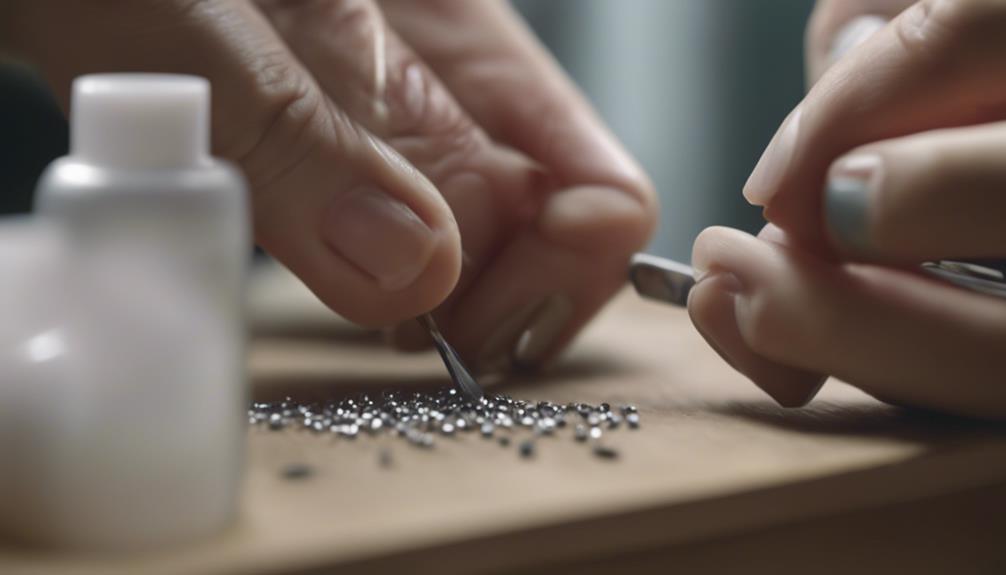
Upon examining your nails prior to applying nail glue, carefully assess their condition to ensure optimal adhesion and longevity of your manicure. Start by ensuring your nails are clean, dry, and free from any oils or residues that could hinder the glue's effectiveness. Trim and shape your nails to the desired length and form, using a nail file to smooth any rough edges. Check for any signs of damage or peeling, as applying glue to compromised nails can lead to a shorter wear time for your manicure.
Additionally, inspect the surface of your nails for any ridges or unevenness that could affect the adhesive bond. Gently buff the nails to create a smooth canvas for the glue to adhere to effectively. Remember to wash your hands thoroughly after this process to remove any dust or debris that may have accumulated.
Cuticle Care
To ensure healthy nails, it is essential to pay attention to cuticle care. Regularly moisturizing the cuticles and gently pushing them back can help maintain the health and appearance of your nails. Proper cuticle care is an important step in preparing your nails for nail glue application.
Moisturize Cuticles Regularly
Regular moisturizing of your cuticles is essential for maintaining the health and appearance of your nails. Cuticles act as a protective barrier, guarding the nail bed against infections and promoting nail growth. To keep your cuticles in top condition, apply a nourishing cuticle oil or cream daily. Look for products containing ingredients like vitamin E, jojoba oil, or almond oil, which help hydrate and strengthen the cuticles. Massage the product gently into the cuticles to stimulate blood flow and encourage healthy nail growth. By incorporating cuticle moisturizing into your nail care routine, you can prevent dryness, cracking, and hangnails, promoting strong, beautiful nails.
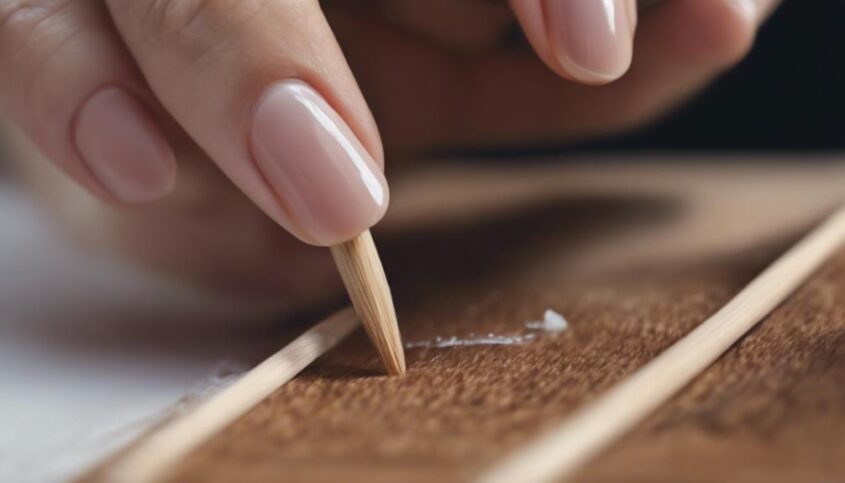
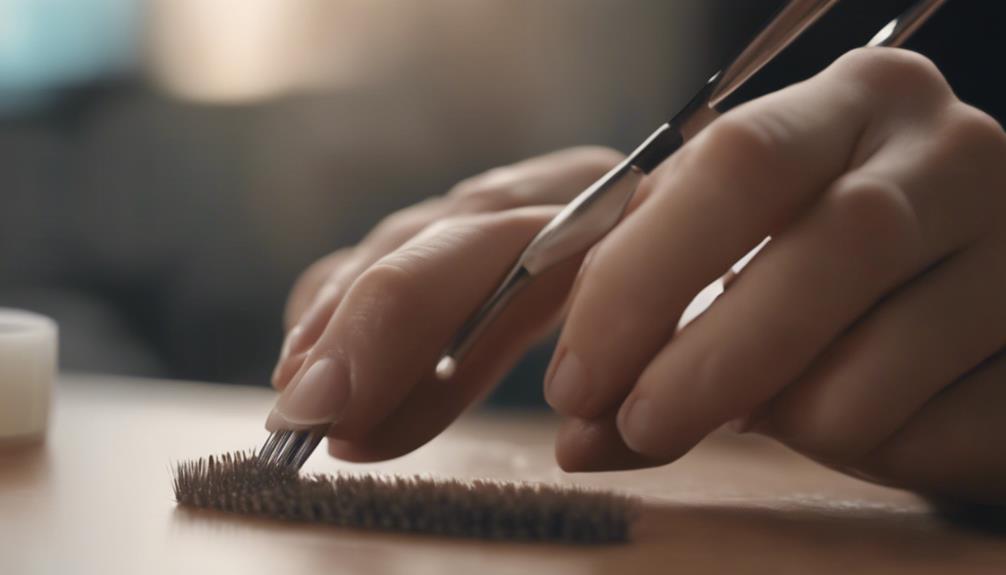
Push Back Cuticles Gently
Gently pushing back your cuticles is a crucial step in maintaining healthy nails and promoting optimal nail growth. By gently pushing back the cuticles, you can prevent them from growing over the nail plate, which can lead to weak and brittle nails. This process also helps to create a clean and smooth surface for applying nail glue, ensuring better adhesion and longevity of your manicure. Use a cuticle pusher or a wooden stick with a beveled edge to gently push the cuticles back, being careful not to cause any damage or bleeding. Remember to do this step gently and regularly to maintain the health and appearance of your nails, promoting a professional and polished look.
Nail Cleaning
Prior to applying nail glue, it is essential to ensure that your nails are thoroughly cleaned to promote proper adhesion and longevity of the manicure. Nail cleaning is a crucial step in the preparation process, as it helps remove any dirt, oils, or residue that could interfere with the nail glue's ability to adhere effectively. Start by gently scrubbing your nails with a soft nail brush and mild soap to eliminate any impurities. Pay special attention to the areas around the cuticles and under the nails to ensure a thorough clean.
After cleaning, make sure to dry your nails completely to prevent any moisture from interfering with the nail glue's bonding strength. Use a clean towel or let your nails air dry before proceeding with the application of nail glue. By taking the time to clean your nails properly, you are setting the foundation for a flawless manicure that will last longer and look professionally done.
Nail Shaping
What considerations should be made when shaping your nails before applying nail glue for a manicure? Nail shaping plays a crucial role in achieving a polished and professional look for your manicure. Here are some essential tips to keep in mind:
- Consider Your Nail Shape: Choose a nail shape that complements your fingers and hands while aligning with your personal style. Whether you prefer a classic oval shape or trendy stiletto nails, the right shape can enhance the overall appearance of your hands.
- Maintain Consistency: Ensure that all your nails are shaped uniformly for a cohesive and balanced look. Consistency in nail shape helps create a harmonious aesthetic and showcases attention to detail.
- Prioritize Nail Health: While shaping your nails, prioritize nail health by using proper tools and techniques. Avoid excessive filing or shaping, as it can weaken the nails. Opt for gentle movements and regular moisturization to keep your nails strong and healthy.
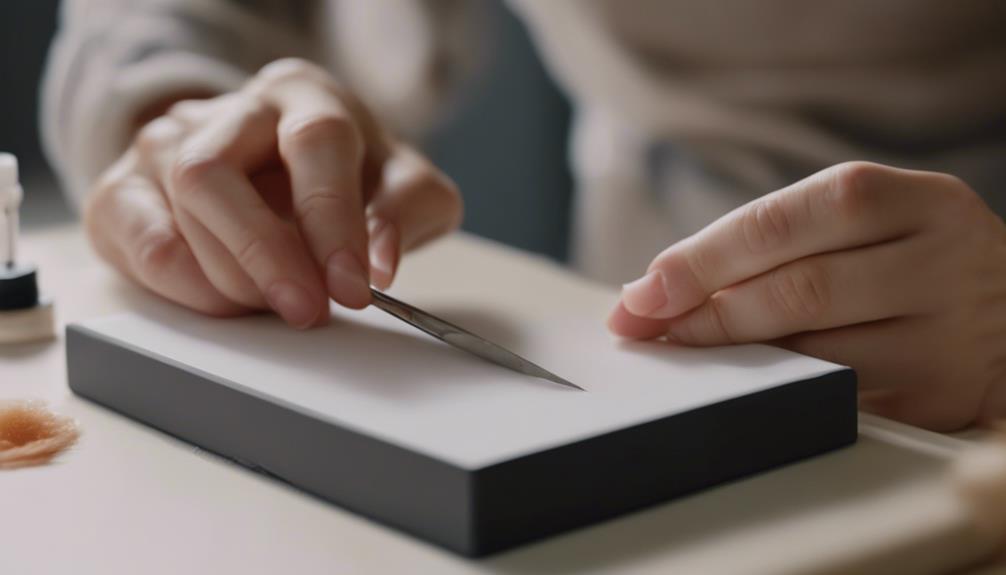
Buffing Surface
To ensure a smooth and flawless application of nail glue for your manicure, the next step involves buffing the surface of your nails. Buffing is a crucial step as it helps create a clean and even canvas for the nail glue to adhere to, ensuring a long-lasting and professional-looking manicure.
Start by gently buffing the surface of each nail using a soft nail buffer or a buffing block. This process helps remove any ridges or unevenness on the nail plate, allowing the glue to bond effectively. Be gentle while buffing to avoid damaging the nail bed.
Buffing also helps in removing excess oils and residues from the nail surface, which can interfere with the adhesion of the glue. This step is especially important for those with naturally oily nails. Once you've finished buffing, make sure to wipe off any remaining dust or debris with a clean, dry cloth before proceeding with the application of nail glue.
Removing Residue
When removing residue from your nails before applying nail glue, it is crucial to start by thoroughly cleansing the nail surface. Utilize acetone gently to dissolve any stubborn residue, ensuring not to damage the nail bed. Finish by lightly buffing the nails to create a clean and smooth surface for optimal adhesion of the nail glue.
Cleanse Nail Surface
Begin by gently wiping the nail surface with a lint-free cloth to remove any residue before proceeding with the cleansing process. This step is crucial in ensuring proper adhesion of the nail glue. Here are some tips to enhance your nail cleansing experience:
- Approach the task with patience and care.
- Pay attention to detail to achieve a flawless nail surface.
- Remember, a well-prepped nail ensures a longer-lasting manicure.
Use Acetone Gently
Consider employing a gentle application of acetone to effectively eliminate any remaining residue on the nail surface before proceeding with the nail glue application. Acetone is a common nail polish remover that can help ensure a clean and smooth nail bed for optimal adhesion of the nail glue. Here is a helpful table to guide you on using acetone gently:
| Acetone Application Tips | Benefits |
|---|---|
| Use a soft cotton ball or pad soaked in acetone | Ensures gentle removal of residue |
| Gently wipe the nail surface in one direction | Prevents unnecessary damage to the nails |
| Avoid excessive rubbing or pressure | Helps maintain nail health |
| Rinse nails with water after acetone application | Removes any remaining acetone residue |
| Pat nails dry before applying nail glue | Ensures a clean and dry surface for better adhesion |
Buff Nails Lightly
To effectively remove residue and prepare the nails for nail glue application, lightly buffing the nail surface can help create a smooth and clean base. Buffing the nails lightly is a gentle yet crucial step in ensuring optimal adhesion and a long-lasting manicure. Here are some reasons why this step is essential:
- Smoother Application: Buffing removes any unevenness on the nail surface, allowing the glue to adhere better.
- Enhanced Adhesion: Buffing helps the glue bond securely to the natural nail, reducing the risk of premature lifting.
- Professional Finish: A well-buffed nail provides a polished look, ensuring your manicure appears professionally done.
Hand Washing
Proper hand washing is essential before applying nail glue to ensure a clean surface for better adhesion. Thoroughly wash your hands with soap and warm water, making sure to clean under the nails and between fingers. This step removes any dirt, oils, or bacteria that could interfere with the nail glue's effectiveness. Hand washing is a simple yet crucial practice that promotes hygiene and helps prevent infections or irritations. By taking the time to cleanse your hands properly, you create a suitable foundation for the nail glue to bond effectively with your nails.
Not only does hand washing contribute to a successful nail application, but it also demonstrates a commitment to maintaining high standards of cleanliness in your nail care routine. Clients appreciate technicians who prioritize hygiene, as it reflects a dedication to their well-being. Remember, clean hands are the first step towards a flawless nail enhancement application.
Drying Nails
Ensure thorough drying of your nails after washing to create an optimal surface for applying nail glue. Properly dried nails will help the nail glue adhere better and ensure a longer-lasting manicure. To enhance the drying process and improve the nail glue application, consider the following:
- Patience: Allow your nails to air dry completely before moving on to the next step. Rushing this process may result in a less effective bond between the nail and the glue.
- Gentleness: Be gentle with your nails while they are drying to prevent any accidental smudging or damage. Taking care during this time will help maintain the integrity of your nails.
- Attention to Detail: Check that each nail is fully dry before applying any products. Attention to detail ensures that the nail glue will adhere properly, leading to a more professional and polished finish.
Frequently Asked Questions
Can I Use Nail Glue on Artificial Nails?
Yes, nail glue can be used on artificial nails. It provides a strong bond for attaching artificial nails securely. Ensure that the artificial nails are clean and dry before applying the nail glue for best results.
Is It Safe to Apply Nail Glue on Damaged Nails?
Applying nail glue on damaged nails can exacerbate the condition, leading to further harm or irritation. It is advisable to allow damaged nails to heal first before considering the use of nail glue or seek professional advice.
How Long Should I Wait Before Applying Nail Polish?
Before applying nail polish, wait for the nail glue to fully cure, typically around 24 hours. This allows for a strong and lasting bond between the glue and your nails. Patience ensures a flawless manicure.
Can I Use Regular Glue Instead of Nail Glue?
While regular glue may seem like a quick fix for nails, it is not recommended to substitute it for nail glue. Nail glue is specifically formulated for nail application, offering a secure bond without causing damage.
Should I Moisturize My Nails After Using Nail Glue?
After using nail glue, it is advisable to moisturize your nails to maintain their health and prevent dryness. Choose a nourishing nail oil or cream to hydrate the nail bed and surrounding skin, promoting overall nail health.