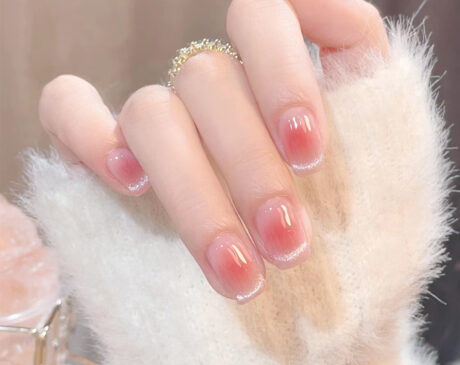
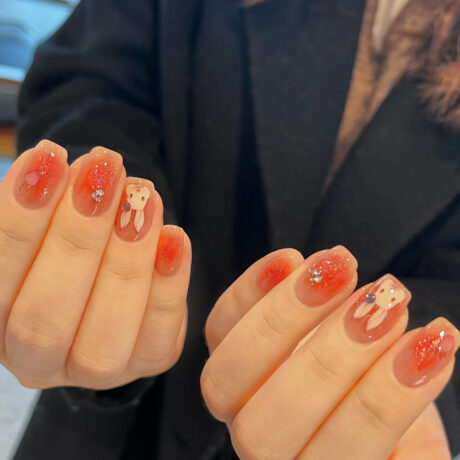
How do you remove press-on nails without damaging press-on?

Safe removal of press-on nails is crucial for maintaining the health and integrity of your natural nails. Incorrect removal techniques can result in damage to the natural nail, such as splitting, tearing, or weakening, as well as unnecessary pain or discomfort. By learning and applying safe removal methods, you can ensure that your natural nails remain healthy and undamaged, allowing you to continue using press-on nails without adverse effects.
Learn About Press-On Nails
Ingredients and Types
Press-on nails are artificial nails made from various materials, including acrylic, gel, and plastic polymers. These materials are designed to mimic the look and strength of natural nails while providing enhanced durability and aesthetic appeal.
Materials Used
The most commonly used material for press-on nails is ABS plastic, a thermoplastic polymer known for its toughness and glossy finish. Some press-ons are also made from acrylic or gel, offering a more flexible and natural feel.
Various Styles and Designs
Press-on nails come in a variety of styles and designs to suit different aesthetic preferences. From classic French manicures to intricate nail art, glitter, and matte finishes, the options are endless. They also come in various shapes, such as oval, square, and stiletto almond, allowing users to experiment with different looks.
Benefits of Using Press-On Nails
Convenience and Cost-Effectiveness
One of the main benefits of press-on nails is convenience. They are easy to apply and remove, making them a time-saving option for those who want a professional manicure look without having to travel to a salon. Additionally, they are more cost-effective than salon manicures, providing an affordable option for nail enthusiasts.
Versatility and Flexibility
With press-on nails, you can change your nail style as often as needed without damaging your natural nails. They offer the flexibility to match your nails to your outfit or occasion without having to spend weeks on a single nail design.
Preparation for Removal
Tools and Materials Needed
Before you begin the removal process, gather the necessary tools and materials. You will need:
- Nail file
- Cuticle sticks or pushers
- Cotton balls or pads
- Acetone or non-acetone nail polish remover
- Aluminum foil (optional, for soaking)
- Nail buffer pads
- Hand cream or cuticle oil
Setting Up Your Work Area
Steps to prepare the area:
- Choose a well-ventilated area to work in, as some nail shampoos give off strong fumes.
- Cover your work surface with a towel or paper to prevent spills.
- Organize your tools and materials within easy reach.
- If using acetone, pour it into a small bowl for easy access.
Step-by-Step Removal Guide
Initial Steps and Precautions
Before beginning the removal process, it is important to take some initial steps to protect your natural nails and ensure effective removal:
- Clean your nails: First, wash your hands thoroughly. Use a non-acetone nail shampoo to remove any polish or debris from pressed-on nails.
- Trim your nails: If your press-on nails are long, cut them short to make the removal process easier.
- File the surface: Gently file the top layer of your press-on nails. This will break the seal and allow the remover to penetrate more easily.
- Protect your cuticles: Apply cuticle oil or petroleum jelly around your cuticles to protect your skin from the drying effects of nail shampoo.
Safe Removal Techniques
Detailed steps for removing press-on nails:
- Soak nails: Soak a cotton ball in acetone or non-acetone nail polish remover.
- Wrap in Foil: Wrap each fingertip in a small piece of aluminum foil to hold the cotton ball in place. Hold for approximately 10-15 minutes.
- Check and Peel Gently: After soaking, gently peel the press-on nails starting from the edges. If they don’t come off easily, soak for another 5 minutes.
- Use a cuticle stick: If necessary, use a cuticle stick to gently lift the edges of the press-on nails.
- Avoid force: Never pull or force your nails as this can damage your natural nails.
Aftercare & Maintenance
Aftercare After Nail Removal
After removing press-on nails, it is important to care for your natural nails:
- Clean and polish: Wash your hands and gently polish your nails to remove any remaining glue.
- Moisturize your nails: Apply cuticle oil and nourishing nail cream to hydrate your nails and cuticles.
- Let your nails rest: Give your nails some time to breathe and recover before applying another set of press-on nails.
Save Press-On Nails for Reuse
To reuse press-on nails:
- Clean them: Use a nail file or buffer to gently remove all glue residue from press-on nails.
- Store them correctly: Store them in a dry place out of direct sunlight. You can store them in their original packaging or in a small box.
Common Mistakes to Avoid
What Not to Do
Avoid these common mistakes for a safer removal experience:
- Don’t Rush: Rushing may lead to nail damage. Take your time, especially during the soaking process.
- Avoid over-exerting yourself: Removing your nails with force can harm your natural nails.
- Don’t skip aftercare: Neglecting to take care of your nails after removal may lead to dry, brittle nails.
- Avoid reusing damaged nails: Do not reuse press-on nails if they are cracked or broken.
Advanced Tips and Tricks
Expert Advice for Perfect Removal
Professional nail technicians often have a few extra tips to ensure perfect removal of press-on nails:
- Soak in warm water: Soak your nails in warm water for a few minutes before applying acetone. This helps soften the adhesive and makes the removal process gentler.
- Oil-Based Nail Polish Remover: For those with sensitive skin or nails, consider using an oil-based nail polish remover. It’s gentler than acetone and prevents over-drying.
- Patience is Key: Allow enough time for your nails to soak in the remover. It’s better to soak longer than to start pulling your nails too soon.
- Buffer on File: Use a nail buffer instead of a file to remove the top layer of press-on nails. This is gentler on your natural nails.
- Nail Health Supplements: Consider taking biotin or other nail health supplements to strengthen your natural nails, especially if you regularly use press-on nails.
Safe removal of press-on nails is essential for maintaining the health and beauty of your natural nails. By knowing the proper techniques and tools needed and following a step-by-step guide, you can ensure that your natural nails remain strong and undamaged. Remember, the key to successful removal is patience, gentle handling, and thorough aftercare. Adhering to these practices will not only protect your nails but also extend the life of your favorite press-on designs.
Frequently Asked Questions
How often can I reuse my press-on nails?
Press-on nails can usually be reused 2-3 times if they are carefully removed and maintained. The longevity of the nail depends on the quality of the nail and how well it is cared for after each use.
Can I remove Presser Nails without using acetone?
Yes, you can use non-acetone nail polish removers, oil-based removers, or even soak in warm soapy water as alternatives. These methods are gentler but may take longer.
What is the safest way to remove pressure nails from sensitive skin?
For sensitive skin, avoid acetone and choose an oil-based remover or a gentle soaking method. Protecting the skin around the nail with petroleum jelly also helps.
How long should I wait before reapplying pressed nails?
It is recommended to wait at least a few days to a week before reapplying pressed nails. This allows your natural nails time to breathe and recover.
Is it normal for my natural nails to feel weak after removing pressure nails?
It is not uncommon for nails to feel slightly weakened after removing pressed nails, especially if they have been pressed for an extended period of time. This can be alleviated with proper nail care and nutrition.


