How do you use Kiss Press on nails without glue?
Kiss and press nails are a popular choice due to their easy application process and stylish design. In this article, we will guide you through the steps to apply these nails perfectly.
What are Kiss Press-On Nails?
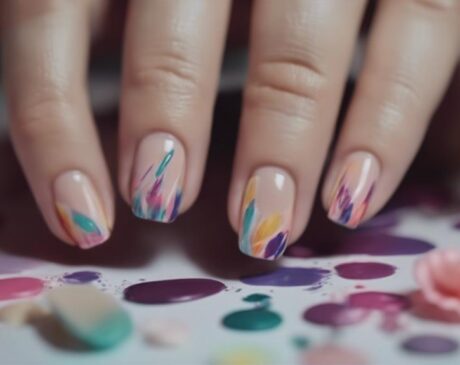
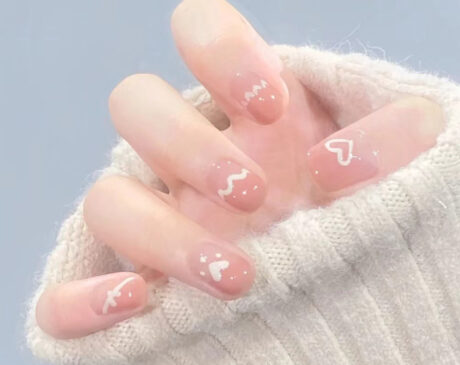
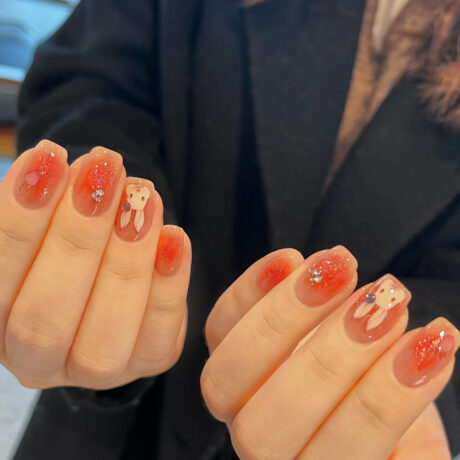
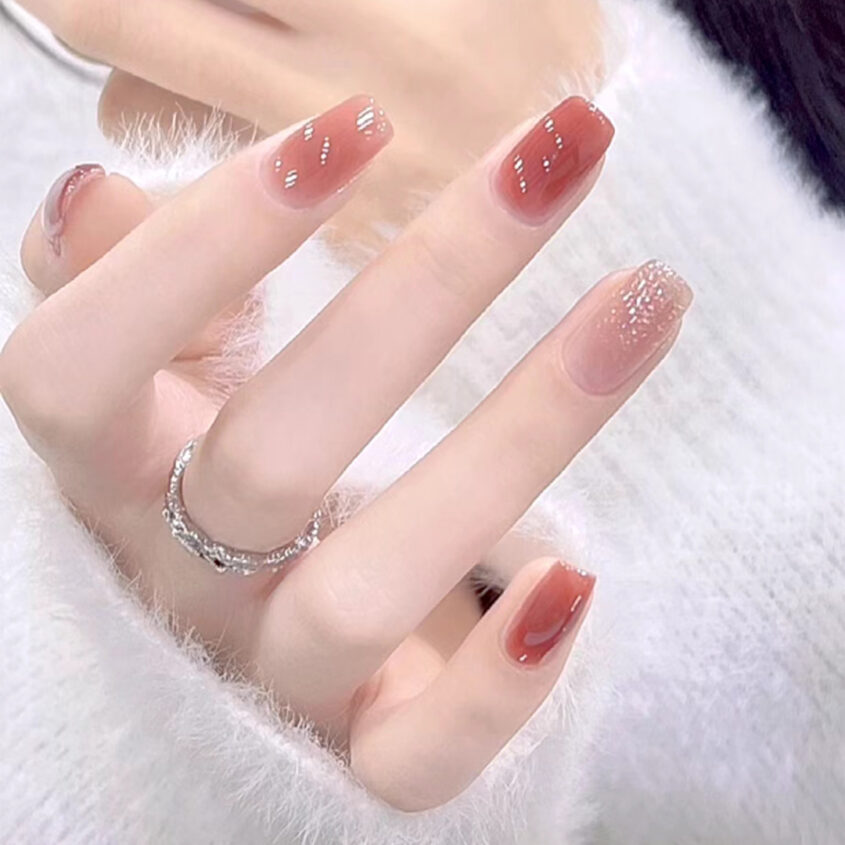
Kiss Press-On Nails are artificial nails made from high-quality materials. They are available in various sizes and designs to suit different preferences. Designed without glue, these nails are a convenient and neat option for those who wish to enhance the beauty of their nails.
Advantages of using glue-free Kiss press-on nails
There are several advantages to using Kiss press-on nails without glue:
No mess: say goodbye to sticky glue spills and smudges.
Quick application: applying these nails is a breeze and only takes a few minutes.
No damage: Since there’s no glue involved, your natural nails stay healthy.
VARIETY: Kiss offers a wide range of designs to suit any occasion or style.
What you need
Before you begin, gather the following items:
- Kiss press-on nail kit
- Nail file
- Nail buffer pads
- Cuticle pusher
- Topical alcohol
- Cotton pads
- Scissors (optional)
Step 1: Prepare your natural nails
First make sure your natural nails are clean and free of any old nail polish. Use the cuticle pusher to gently push back the cuticle. Then, gently sand the surface of your nails to create a smooth canvas for press-on nails.
Step 2: Choosing the right size
One of the key elements of a natural look is choosing the right nail size. Kiss-and-press nails come in a variety of sizes, so take a moment to find the size that best suits your natural nails. You want them to cover the entire nail bed without overlapping onto your skin.
Step 3: Applying the Presser Nails
Align your nails
Peel off the protective backing from the press-on nails.
Align each press-on nail with your natural nail to ensure a perfect fit.
Pressing them in
Apply gentle pressure to firmly bond the press on nails.
Hold each nail in place for a few seconds to ensure a firm bond.
Trimming and shaping
If desired, use scissors or a nail file to trim and shape the press-on nails to your desired length and shape.
Step 4: Nail Care
To maintain your Kiss press-on nails:
Avoid exposing them to too much water for long periods of time.
Apply a clear top coat for added durability.
Be careful when performing activities that may put pressure on your nails (e.g. opening cans).
How to Remove Kissing Press-on Nails
When it is necessary to remove a press-on nail:
Soak nails in warm soapy water for a few minutes.
Use a cuticle pusher to gently lift the nail from the side.
Tips for a long-lasting manicure
To ensure a long-lasting manicure, follow these tips:
Avoid using your nails as tools.
Apply cuticle oil regularly to keep your natural nails healthy.
Store excess pressed nails in a cool, dry place.
Frequently Asked Questions (FAQ)
Q1: How long does Kiss Pressed Nails last?
A1: With proper care, Kiss Pressed Nails can last up to two weeks.
Q2: Can I reapply Kiss Press On Nails?
A2: Yes, you can reapply them by using adhesive tabs or nail glue.
Q3: Will Kiss Pressed Nails damage my natural nails?
A3: No, they are designed to be gentle on natural nails if applied and removed correctly.
Q4: Can I put lacquer on my Kiss Press-On Nails?
A4: Yes, you can change the color by applying nail polish on top.
Q5: Where can I purchase Kiss Press-On Nails?
A5: You can find them at most drugstores and online retailers.
Kiss press-on nails offer an easy way to create beautiful nails without the need for glue. By following the steps outlined in this guide, you can enjoy long-lasting and stunning nail art results immediately. Say goodbye to mess and hello to gorgeous nails with Kiss Pressed Nails.