How Many Layers of Gel Top Coat Should I Use?
When applying gel top coat, it is recommended to use 2-3 thin layers for a durable, long-lasting manicure. Multiple thin layers enhance durability and prevent chipping, while ensuring proper curing without bubbling. Balancing layer thickness is crucial to avoid a bulky finish. Considering factors like brand, formulation, and personal preferences can influence optimal layering. Achieving the perfect layer thickness contributes to a flawless and smooth manicure. For more in-depth insights on factors influencing layer selection, common mistakes to avoid, and proper removal techniques, exploring further can enhance your gel top coat application skills.
Key Takeaways
- Optimal gel top coat layering usually requires 2-3 thin layers for durability and longevity.
- Balancing thin layers is crucial to prevent a bulky and uneven finish.
- Layer thickness affects manicure durability, flexibility, and curing time.
- Avoid over-layering to maintain integrity – follow curing guidelines and monitor layer thickness.
- Proper removal technique involves gently buffing, soaking in acetone, and moisturizing nails after.
Understanding Gel Top Coat Layers
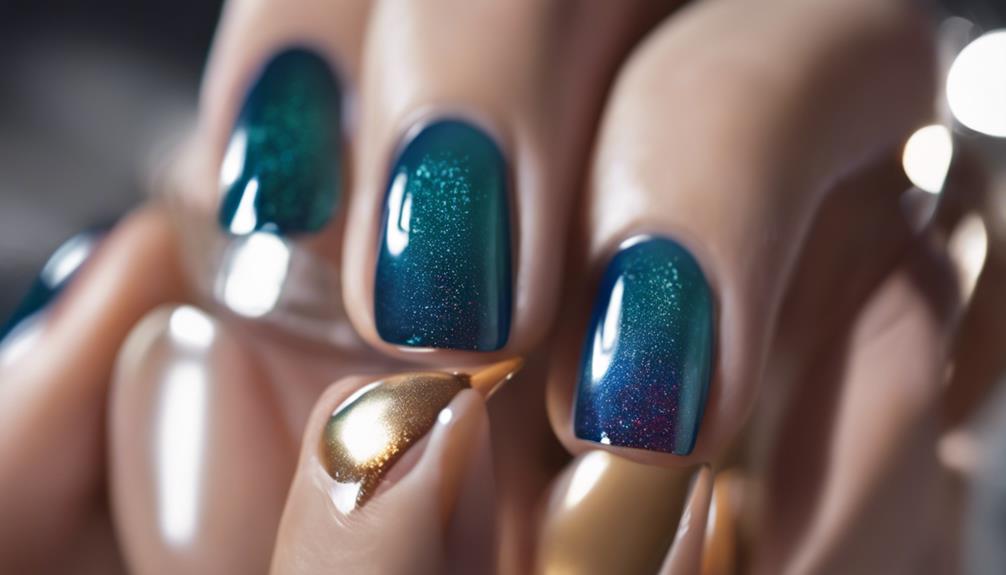
When applying gel top coat, understanding the optimal number of layers to use is crucial for achieving a long-lasting and flawless finish. The number of layers needed varies depending on the brand and formula of the gel polish being used. In general, most gel top coats require two to three layers for the best results.
The first layer of gel top coat acts as a foundation, providing a smooth base for the subsequent layers to adhere to. Adding multiple thin layers, rather than one thick layer, improves the durability and longevity of the manicure. It also helps to prevent chipping and peeling, ensuring that your nails look fresh and vibrant for an extended period.
However, it is essential to strike a balance when applying gel top coat. While adding more layers can enhance the strength and shine of your manicure, applying too many layers can lead to a bulky and uneven finish. Experimenting with different numbers of layers and techniques will help you find the perfect balance for your desired look.
Factors Influencing Layer Selection
One key determinant influencing the selection of the number of gel top coat layers is the desired level of durability and longevity for the manicure. For individuals seeking a long-lasting and resilient finish, applying multiple layers of gel top coat can significantly enhance the overall lifespan of the manicure. Another factor to consider is the thickness of each layer applied. Thicker layers may provide added strength and protection, but they can also increase the risk of bubbling or uneven curing. Additionally, the specific brand and formulation of the gel top coat can influence how many layers are optimal for achieving the desired results. Some formulations may require fewer layers to achieve the desired level of shine and durability, while others may benefit from multiple thin layers for optimal performance. By considering these factors thoughtfully, individuals can tailor their gel top coat application to meet their specific needs and preferences, ensuring a flawless and long-lasting manicure.
Recommended Number of Layers
When it comes to gel top coat application, the recommended number of layers plays a crucial role in achieving optimal results. By understanding the optimal layering techniques, you can ensure even coverage and a flawless finish. Let's explore how to achieve perfect coverage with the right number of gel top coat layers.
Optimal Layering Techniques
For achieving the best results with gel top coat application, it is recommended to layer the product with a specific number of coats to ensure optimal performance and longevity. When it comes to optimal layering techniques, consider the following:
- Thin Layers: Apply each coat thinly to prevent bubbling and ensure proper curing.
- Even Coverage: Ensure each layer covers the entire nail evenly for a smooth finish.
- Recommended Number: Typically, applying two to three coats is sufficient for most gel top coats.
- Curing Between Layers: Cure each layer properly under the UV or LED lamp before applying the next coat to enhance durability and prevent peeling.
Achieving Perfect Coverage
To achieve optimal coverage and durability with gel top coat application, it is advisable to apply a recommended number of layers for best results. Typically, two layers of gel top coat are sufficient to achieve perfect coverage. The first layer should be applied in a thin, even coat to ensure proper adhesion to the nail surface. Allow this initial layer to cure fully before applying the second layer slightly thicker to enhance the shine and durability of the manicure. Adding more than two layers can lead to extended curing times and may result in a bulky or uneven finish. By following this recommended layering technique, you can achieve a flawless gel manicure with long-lasting results.
Impact of Layer Thickness
Layer thickness plays a crucial role in determining the durability and effectiveness of gel top coats. The impact of layer thickness is significant in achieving the desired results when applying gel top coats. Here are key points to consider regarding the impact of layer thickness:
- Durability: The thickness of each gel layer directly affects the overall durability of the manicure. Thicker layers tend to provide better protection and can withstand daily wear and tear more effectively.
- Flexibility: Optimal layer thickness ensures the flexibility of the gel top coat. Layers that are too thick may become rigid, leading to cracking or chipping, while thin layers may lack the necessary strength.
- Curing Time: The thickness of each layer influences the curing time required. Thicker layers may take longer to cure properly under the UV or LED lamp, affecting the overall efficiency of the application process.
- Smooth Finish: Achieving the perfect thickness per layer is essential for a smooth and flawless finish. Uneven or excessively thick layers can result in an uneven surface, affecting the aesthetic appeal of the manicure.
How to Avoid Over-Layering
Excessive application of gel top coat can compromise the integrity of the manicure and lead to undesirable outcomes. To avoid over-layering, it is essential to follow certain guidelines. Firstly, ensure each layer of gel top coat is applied thinly and evenly to prevent buildup. Secondly, allow each layer to cure completely under the UV or LED lamp before applying the next coat. Lastly, be mindful of the number of layers applied, as adding too many can result in a thick, uneven finish that is prone to chipping and peeling. To help you keep track, here is a simple guide:
| Layer Number | Effect | Outcome |
|---|---|---|
| 1 | Thin layer applied evenly | Proper coverage |
| 2 | Second layer for added shine | Enhanced durability |
| 3 | Third layer for extra protection | Risk of over-layering |
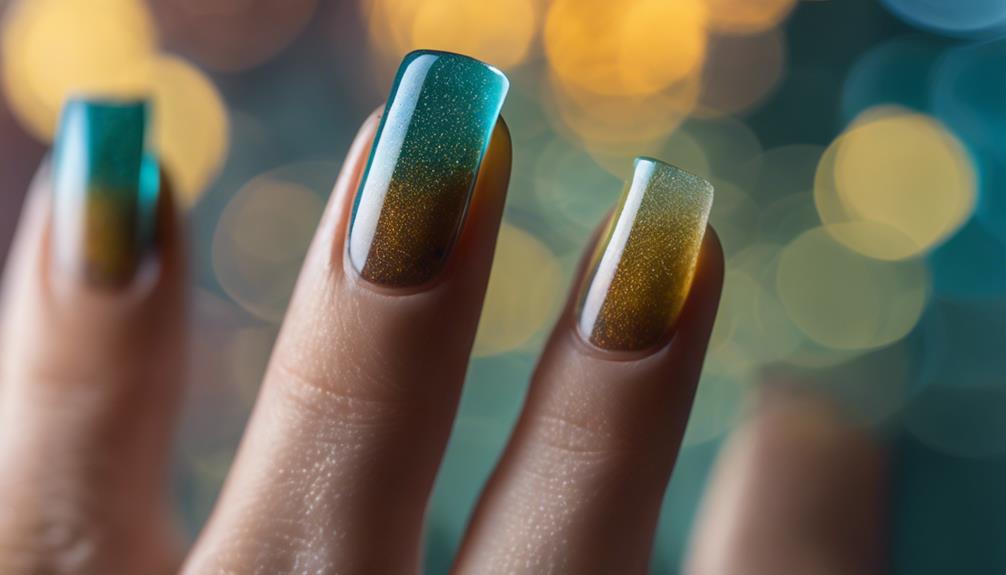
Tips for Achieving a Smooth Finish
When aiming for a flawless gel top coat finish, mastering the application technique is crucial. Additionally, adhering to recommended drying times can significantly impact the overall smoothness of the final result. By focusing on these key aspects, you can achieve a professional and smooth gel top coat finish.
Application Technique Tips
Implementing proper application techniques is crucial for achieving a flawless and smooth finish when using gel top coat. To ensure a professional and innovative result, consider the following tips:
- Prep Your Nails: Start with clean, dry nails free of any oils or residue for better adhesion.
- Thin Layers: Apply thin, even layers of gel top coat to prevent bubbling and ensure proper curing.
- Avoid Cuticle Contact: Keep the gel top coat away from the cuticles to prevent lifting and peeling.
- Cap the Edges: Seal the edges of your nails with the gel top coat to increase longevity and prevent chipping.
Drying Time Recommendations
To achieve a smooth and impeccable finish with gel top coat, it is important to adhere to recommended drying times for optimal results. Ensuring each layer dries properly before applying the next is crucial for a flawless manicure. Here are some drying time recommendations to help you achieve a professional finish:
| Layers of Gel Top Coat | Recommended Drying Time |
|---|---|
| 1st layer | 30 seconds |
| 2nd layer | 60 seconds |
| 3rd layer | 120 seconds |
| 4th layer | 180 seconds |
| 5th layer | 240 seconds |
Following these drying times will help you achieve a perfectly smooth and long-lasting gel top coat finish that will impress even the most discerning nail enthusiasts.
Layering Gel Top Coat: Common Mistakes
One common oversight in layering gel top coat is neglecting to ensure each layer is adequately cured before applying the next. This mistake can lead to a range of issues, such as bubbling, uneven texture, and premature chipping. To achieve flawless gel top coat application, it is crucial to follow the proper layering techniques. Here are four common mistakes to avoid:
- Insufficient curing time: Rushing the curing process can result in layers that are not fully hardened, leading to smudging and denting.
- Thick layers: Applying thick layers of gel top coat may seem time-saving, but it can cause uneven curing, resulting in a tacky or wrinkled finish.
- Skipping base coat: Neglecting to apply a base coat before the gel top coat can compromise adhesion and lead to premature chipping.
- Overlapping layers: Overlapping gel top coat layers excessively can create a bulky and uneven appearance, affecting the overall durability of the manicure.
Removing Multiple Layers of Gel Top Coat
When removing multiple layers of gel top coat, it is essential to follow proper techniques to ensure a smooth and efficient process. One effective method is to start by gently buffing the top layer of the gel coat with a fine-grit nail file. This helps break the seal of the topcoat, allowing the acetone to penetrate more effectively. Next, soak a cotton ball in acetone, place it on the nail, and wrap the fingertip in aluminum foil to create a barrier that locks in the acetone's potency. Let it sit for about 10-15 minutes to soften the layers. After the time has elapsed, gently press down on the nail and twist the foil off to remove the softened gel layers. If there are remaining layers, repeat the process until all layers are removed. Remember to moisturize your nails and cuticles after the process to replenish moisture and prevent dryness. By following these steps diligently, you can efficiently remove multiple layers of gel top coat without damaging your nails.
Frequently Asked Questions
Can Different Gel Top Coat Brands Be Layered Together?
Different gel top coat brands can be layered together, but it's essential to consider compatibility and potential chemical reactions. Conduct patch tests and adhere to manufacturer guidelines. Experiment cautiously to ensure optimal results and longevity of the manicure.
Is It Possible to Mix Different Gel Top Coat Colors in Layers?
Mixing different gel top coat colors in layers is a creative way to achieve unique nail designs. By carefully layering colors, one can create stunning gradients, ombre effects, or intricate patterns that showcase individuality and innovation in nail art.
How Long Should I Wait Between Applying Each Layer?
To achieve optimal results in gel top coat application, the waiting time between each layer is crucial. Proper curing and adherence are dependent on allowing adequate time for each coat to set. Patience ensures a flawless finish.
Can Gel Top Coat Layers Be Buffed for a Matte Finish?
Buffing gel top coat layers for a matte finish can be achieved by lightly buffing the cured gel with a fine grit buffer. This process creates a smooth, matte effect, offering a different finish from the traditional glossy look.
What Is the Best Method for Fixing Streaks When Layering Gel Top Coat?
When fixing streaks in gel top coat layering, consider applying thinner coats to prevent unevenness. Ensure each layer is cured properly, and use a quality top coat brush for smooth application. If streaks persist, lightly buff before adding a final layer.