How to Make a UV Light?
If you want to make a UV light, gather UV LED beads, a heat sink, an aluminum enclosure, UV transmitting glass, and electrical components. Check the bulb, connect it to a power source with a resistor, and create a simple circuit. Double-check connections and test it out. Adjust the intensity and wavelength for optimal performance. Ready to shine some UV light and explore its possibilities further?
Key Takeaways
- Gather materials: UV LED beads, heat sink, enclosure, glass lens, electrical components.
- Prepare UV bulb: Check compatibility, handle gently, inspect for damage, clean, store properly.
- Assemble circuit: Connect bulb to power, add resistor, understand component purpose, visualize assembly.
- Connect components: Ensure secure attachment, double-check wiring, insulate with tubing, test connections.
- Test UV light: Double-check, verify wavelength, use UV-sensitive materials, adjust for optimal coverage, make necessary adjustments.
Safety Precautions
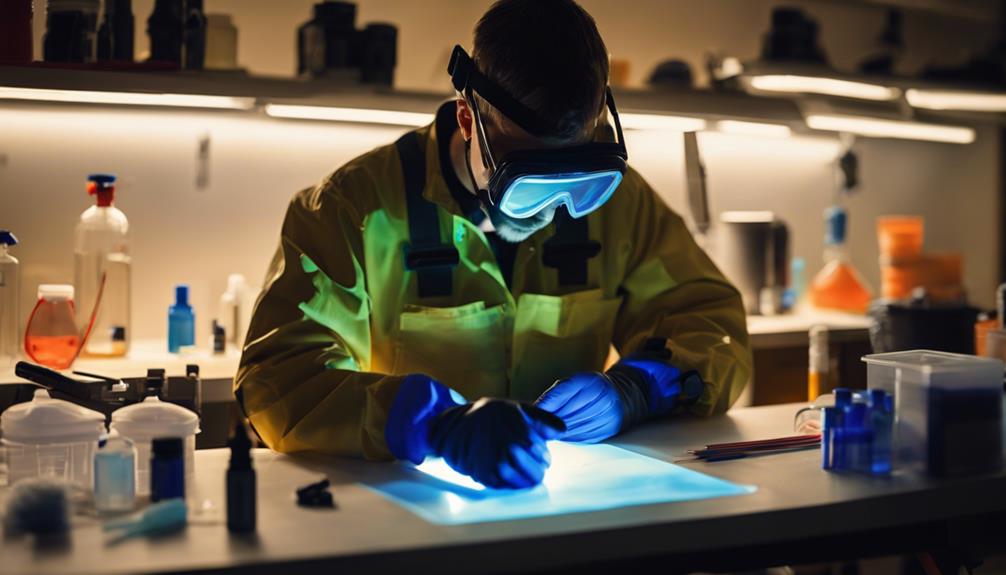
Have you considered the necessary safety precautions before starting to make a UV light? Safety should always be your top priority when embarking on any DIY project, especially when working with materials like UV lights. To ensure a safe and successful project, here are some key precautions to keep in mind.
Firstly, it is crucial to wear protective gear such as safety goggles and gloves to shield yourself from potential UV exposure. UV light can be harmful to your eyes and skin if proper precautions are not taken. Additionally, make sure to work in a well-ventilated area to prevent the buildup of any fumes that may be emitted during the creation process.
Furthermore, when working with electrical components, always remember to unplug any power source before handling the wires. This simple step can prevent electric shocks and other potential accidents. Lastly, read and follow the instructions carefully to understand the risks involved and how to mitigate them effectively.
Gather Materials
Before you start assembling your UV light, it is crucial to gather all the necessary materials and prepare your equipment. The required materials list will ensure you have everything you need before beginning the project. Equipment preparation is essential for a smooth and efficient construction process.
Required Materials List
To assemble a UV light, gather the necessary materials listed below:
- High-intensity UV LED beads
- Heat sink to dissipate heat effectively
- Aluminum enclosure for durability
- UV transmitting glass lens for protection
- Electrical components like resistors and wires
Equipment Preparation
Now, start getting ready to gather the materials for preparing the equipment to assemble your UV light. To streamline the process, use the following table to organize your equipment:
| Equipment | Purpose |
|---|---|
| UV-C LED bulbs | Emit ultraviolet light |
| Power source | Supplies electricity |
| Soldering iron | Joining electronic components |
| Heat shrink tubing | Insulating connections |
| Circuit board | Holds components together |
| Safety goggles | Protect eyes from UV light |
Prepare the UV Bulb
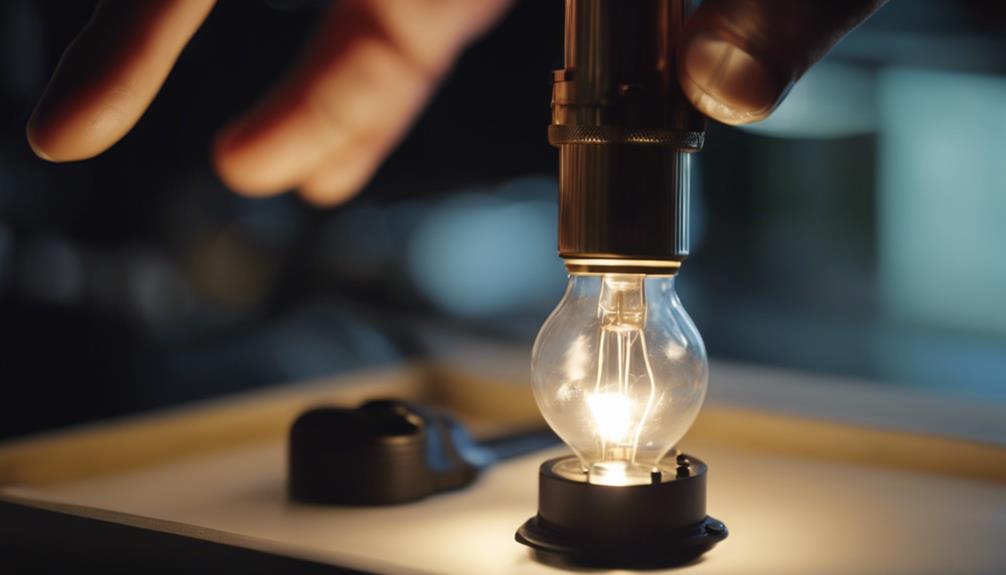
Once you have gathered all the necessary materials, ensure that the UV bulb is compatible with the designated fixture before proceeding. To prepare the UV bulb effectively, follow these steps:
- Check Compatibility: Make sure the UV bulb matches the fixture to avoid any issues during assembly.
- Handle with Care: UV bulbs are delicate, so handle them gently to prevent breakage.
- Inspect for Damage: Before installation, check the bulb for any signs of damage or defects.
- Clean the Bulb: Use a soft cloth and alcohol to clean the bulb's surface from any dirt or residues.
- Store Properly: If not using the bulb immediately, store it in a cool, dry place away from direct sunlight.
Taking these steps will ensure that your UV bulb is ready for the next stage of assembling the UV light. Once properly prepared, you can move on to the exciting process of creating your own UV light source.
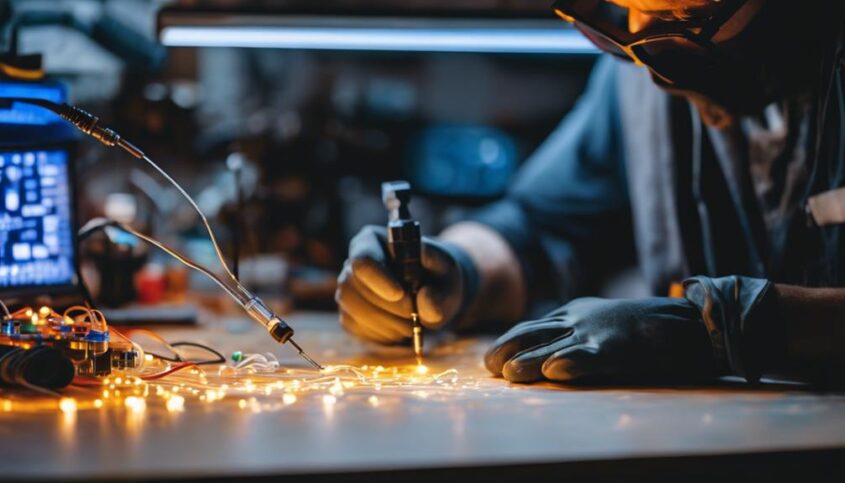
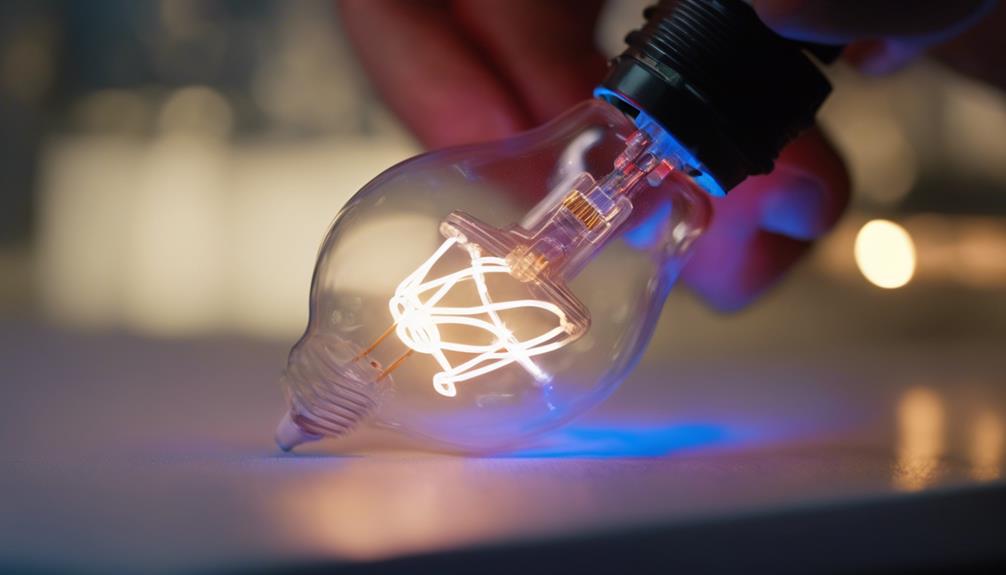
Assemble the Circuit
After ensuring the UV bulb is properly prepared, proceed to assemble the circuit for your DIY UV light. The circuit assembly is a crucial step in creating a functional UV light device. To help you visualize the components needed for this process, refer to the table below:
| Component | Quantity | Description |
|---|---|---|
| UV Bulb | 1 | Emits ultraviolet light for sterilization. |
| Power Source | 1 | Supplies electricity to the UV bulb. |
| Resistor | 1 | Regulates the current flowing to the UV bulb. |
Now, let's dive into the exciting part – assembling these components to bring your UV light to life. Start by connecting the UV bulb to the power source. Then, ensure the resistor is correctly placed to control the current flow. This simple circuit will power your UV light, allowing you to harness the benefits of ultraviolet light for various applications. Stay tuned for the next step on how to 'Connect the Components' to complete your UV light creation.
Connect the Components
To connect the components for your DIY UV light, start by ensuring the UV bulb is securely attached to the power source. This step is crucial in creating a functional UV light that can be used effectively. Once the UV bulb is properly connected, you can move on to the next steps to complete your project. Here are some tips to help you connect the components smoothly:
- Double-check the wiring connections to avoid any short circuits.
- Use heat shrink tubing to insulate the connections and ensure safety.
- Secure the components in place using zip ties or adhesive mounts.
- Test the connections by carefully turning on the power source.
- Make sure to follow proper safety precautions when working with electrical components.
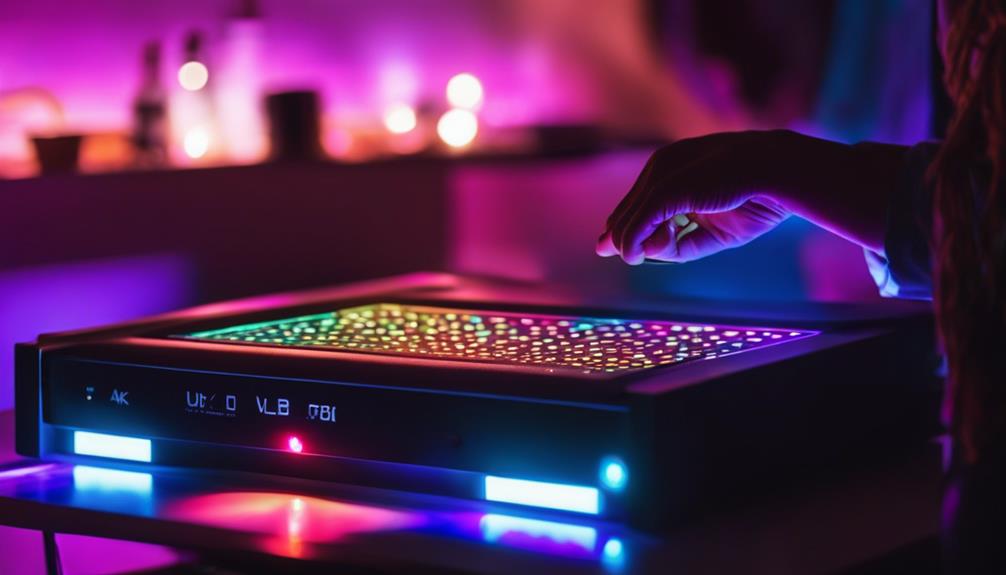
Test the UV Light
Before proceeding further, ensure that you have completed connecting all the components as instructed in the previous section. Now comes the exciting part – testing your UV light! It's time to power up your creation and witness the ultraviolet magic it emits.
Firstly, double-check all connections to prevent any mishaps. Once you confirm everything is secure, power on your UV light. Observe the emitted light to ensure it's the expected ultraviolet wavelength. You can use UV-sensitive materials like certain plastics or highlighter ink to test its effectiveness. These materials will glow under the UV light, indicating its functionality.
Furthermore, verify that the UV light covers the desired area effectively. Move the light around to see its range and intensity. Make any necessary adjustments to ensure optimal performance.
Testing your UV light is crucial to ensure it works as intended. This step allows you to identify any issues early on and fine-tune your creation for maximum efficiency.
Fine-Tune Your UV Light
To fine-tune your UV light, you can adjust the light intensity and modify the wavelength output. These two aspects play crucial roles in optimizing the performance of your UV light for various applications. Experiment with these adjustments to achieve the desired results efficiently.
Adjust Light Intensity
For optimal results, consider adjusting the light intensity of your UV light device. To fine-tune your UV light and achieve the desired outcomes, follow these innovative tips:
- Experiment with different distances between the UV light and the target surface.
- Utilize dimmers or variable power supplies to control the intensity levels.
- Try using reflectors or diffusers to modify the light distribution.
- Consider incorporating light filters to adjust the spectral output.
- Explore the option of adding multiple UV light sources for increased intensity.
Modify Wavelength Output
Adjusting the wavelength output of your UV light device can enhance its effectiveness in various applications. By modifying the wavelength, you can target specific types of organisms or materials with greater precision. To fine-tune the wavelength output, consider using filters or specialized bulbs that emit light at the desired wavelength. UV light with shorter wavelengths is more effective at killing bacteria and viruses, while longer wavelengths are suitable for curing resins or in medical applications. Experiment with different wavelengths to optimize the performance of your UV light for your specific needs. This adjustment allows you to tailor the UV light to suit a range of tasks, making it a versatile tool for disinfection, curing, and other innovative applications.
Frequently Asked Questions
Can I Use Any Type of Bulb for Making a UV Light?
You can't just use any bulb to create UV light. Not all bulbs possess the power to emit those transformative rays. Seek the specific kind that ignites the magic of ultraviolet brilliance.
How Can I Dispose of the UV Bulb Properly?
When disposing of a UV bulb, ensure you follow proper guidelines for hazardous waste. Check with local regulations or recycling centers for safe disposal options. Protect the environment by handling and disposing of UV bulbs responsibly.
Is It Safe to Look Directly at the UV Light?
Looking directly at UV light isn't safe due to potential harm to your eyes and skin. Remember to always use protective gear and follow safety guidelines. It's crucial to prioritize your well-being when dealing with UV light exposure.
Can I Adjust the Intensity of the UV Light?
Yes, you can adjust the intensity of the UV light easily with a dimmer switch or by using different wattage bulbs. This flexibility allows you to customize the strength of the UV light to suit your needs.
What Should I Do if the UV Light Stops Working Suddenly?
If the UV light suddenly stops working, check the power source and connections first. Try changing the bulb or rechargeable batteries. If those steps don't fix it, consult the user manual for troubleshooting tips or contact customer support.