How to Make Press-On Nails Look Real: Achieving Natural-Looking Results?
Press-on manicures are becoming increasingly popular as a convenient and affordable way to get a manicure at home. While some people may worry that they don’t look natural, there are techniques you can use to make pressed out nails look realistic and natural. In this article, we’ll guide you through the entire process, from choosing the right press-on nails to applying them and achieving a seamless, realistic finish.
1. Choose the right pressed nails
When wanting to achieve a natural look, you must choose press-on nails that complement the natural shape and size of your nails. Consider the length, width and curvature of your nails to find the press-on nail that best matches your own. Choose nails made from quality materials as they look more realistic.
2. Prepare your natural nails
Before applying press-on nails, prepare your natural nails for best results. First remove the old nail polish and then gently push back the cuticle. Trim and shape your nails to ensure they are clean, even and without any rough edges. This step provides a smooth canvas for the pressed-in nails to adhere to.
3. Applying press-on Nails
To apply press-on nails effectively, follow these steps:
- Apply a thin layer of nail glue to your natural nail.
- Align the press-on nail with the cuticle and press it firmly onto the nail bed.
- Hold the nail in place for a few seconds to allow the glue to adhere.
- Make sure the press-on nail is applied straight and centered over your natural nail for a natural look.
4. Shaping and filing
After applying press-on nails, you may need to trim and file them to achieve the length and shape you want. Use a nail file to gently trim your nails, taking care to maintain a natural curve. Avoid filing too hard as this may damage the pressed-in nail or expose your natural nail.
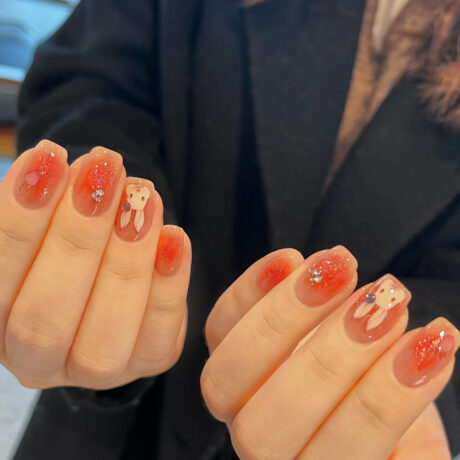
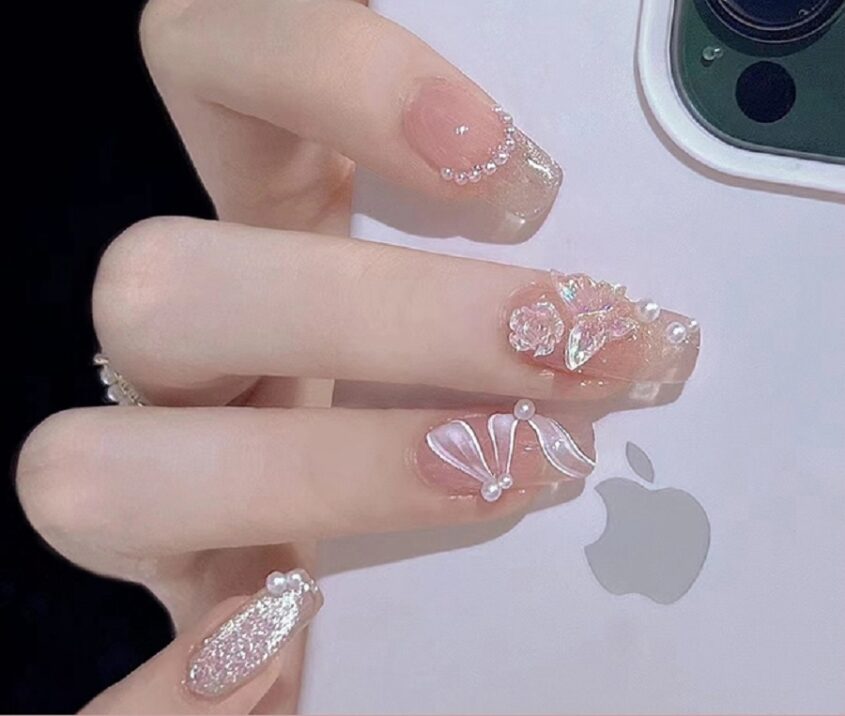
5. Nail Polish and Design
To further enhance the natural look of pressed-in nails, you can apply nail polish or designs. Choose colors and patterns that mimic the look of natural nails. Soft neutrals, pastels or classic French tips are popular choices. Apply thin coats of polish and let them dry completely between each coat for a flawless finish.
6. Blend with your natural nails
To achieve a seamless transition between pressed-in and natural nails, consider the following:
- Before applying, apply a clear base coat to both press-on and natural nails.
- Lightly buff the edges of the press-on nail to blend in with your natural nail.
- Apply a top coat to seal the press-on nail and enhance its durability.
- These techniques help create a more natural, cohesive look.
7. press-on Nail Care
To maintain the realistic look of press-on nails, it is important to care for them properly. Avoid exposing them to excessive moisture, such as prolonged immersion in water. Wear gloves when doing household chores or activities that may damage press-on nails. Be aware of any harsh chemicals or abrasive substances that may affect the life and appearance of your nails. Also, avoid picking or biting nails to prevent any accidental damage.
9. Removing pressed-in nails
When it is necessary to remove a pressed-in nail, follow these steps to ensure a safe and gentle removal process:
- Soak the nail in warm soapy water for a few minutes to soften the adhesive.
- Use a cuticle stick or orange wood stick to gently pry the pressed nail from the side. Avoid pushing or pulling as this can damage your natural nail.
- If the pressed nail does not come off easily, you can re-soak it for a while and try again.
Remember to be patient and gentle during the removal process to minimize potential damage to your nails.
With the right technique and attention to detail, it is possible to achieve natural-looking press-on nails. By choosing the right press-on nails, preparing your natural nails properly, and applying them correctly, you can enjoy the beauty of salon-appropriate nail art in the comfort of your own home. Remember to take care of your press-on nails and remove them safely to keep the nails healthy underneath. With these tips, you’ll be able to confidently create flawless, natural-looking press-on nails.
Will press-on nails damage my natural nails?
Proper application and removal of press-on nails will not cause significant damage to your natural nails. It is important to be gentle during removal to avoid any potential damage.
How long do press-on nails usually last?
The lifespan of a press-on nail depends on the quality of the nail, the adhesive used and how well you take care of your nails. On average, press-on nails can last anywhere from a few days to two weeks.
Can I re-use press-on nails?
While some press-on nails are designed for single use, others can be reused if removed carefully and cleaned properly. For guidance on reusability, please refer to the manufacturer’s instructions.
Can I customize my press-on nails with a manicure or design?
Absolutely! Press-on nails provide the perfect canvas to showcase your creativity. You can easily add nail art, designs, or even hand-painted details to personalize your manicure.
Do press-on nails fit all nail shapes and sizes?
press-on nails come in a variety of shapes and sizes to accommodate different nail shapes and sizes. Look for options that closely match your natural nails, or consider filing and shaping your press-on nails to fit the look you want.