Is It Better to Paint Nails Before or After Shower?
For the best manicure results, consider painting nails before a shower to enhance polish durability and moisture absorption. This method can create a stronger bond between the polish and nails, saving time and preventing chipping. However, painting nails after showering can provide hydrated nails, smoother surfaces, and longer-lasting results. Factors like nail preparation, drying time, and product quality play a crucial role. Follow specific tips for each method to optimize your nail painting routine. To discover more detailed insights and best practices for painting nails in various scenarios, explore the detailed research findings provided.
Key Takeaways
- Painting nails before shower enhances polish durability and absorption of moisture.
- Painting nails after shower provides hydrated, smooth nails for enhanced adhesion.
- Consider nail preparation, quality of polish, and drying time for best results.
- Select high-quality nail products and allocate sufficient time for flawless manicures.
- Post-shower nail care includes gentle drying, cuticle oil application, and quick-dry top coat for protection.
Benefits of Painting Nails Before Shower
Prior to showering, painting nails can enhance the durability of the polish and ensure a longer-lasting finish. By applying nail polish before showering, the nails have the opportunity to absorb the moisture from the shower, allowing the polish to adhere more effectively to the nail bed. This innovative technique creates a stronger bond between the nail polish and the nail surface, resulting in a smoother and more durable finish.
Additionally, painting nails before showering can save time in your beauty routine. Instead of waiting for the polish to dry after showering, you can complete this step beforehand and move on to other tasks while the polish sets. This time-saving method is perfect for individuals with busy schedules who still want to maintain a polished appearance.
Moreover, painting nails before showering can prevent chipping and peeling, as the polish has a chance to fully dry and harden before coming into contact with water or other products. This innovative approach can lead to a flawless manicure that lasts longer and looks professionally done.
Drawbacks of Painting Nails Before Shower
Painting nails before a shower can lead to the risk of chipping the freshly applied polish while performing shower-related activities. Additionally, the post-shower drying time for nail polish may be prolonged due to the exposure to water and steam during the shower. This extended drying period can result in smudges or imperfections on the nail polish surface.
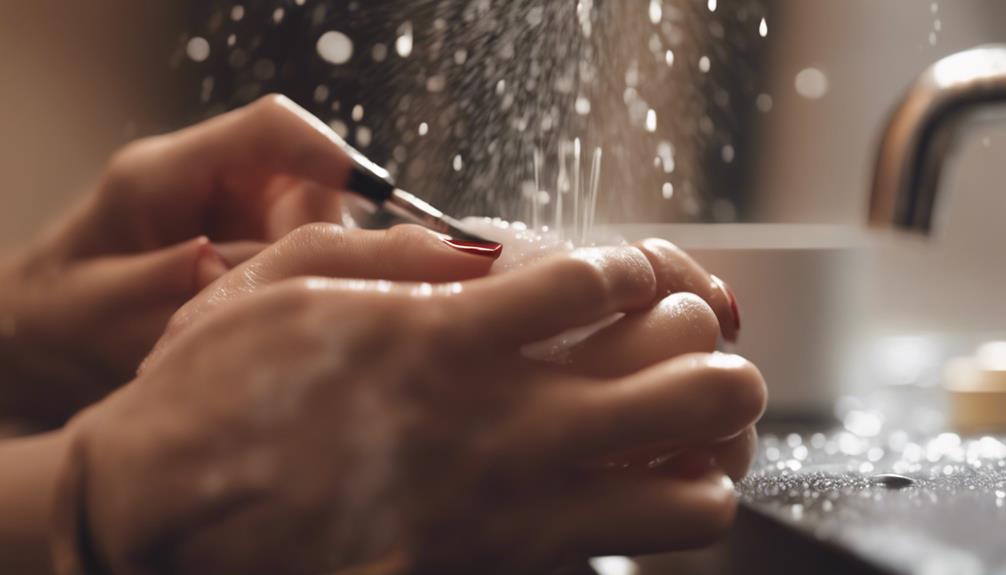
Pre-Shower Nail Chipping
Is there a way to prevent the frustrating issue of nail chipping before showering when nails have been freshly painted? One common problem with painting nails before a shower is the risk of chipping due to contact with water. This can be particularly disappointing after spending time carefully applying nail polish. To combat this issue, some innovative nail enthusiasts have started using quick-dry topcoats to seal in the color and protect it from water damage. These topcoats not only help in preventing chipping but also reduce the overall drying time of the nail polish. By incorporating this extra step into your nail painting routine, you can enjoy beautifully painted nails that withstand the pre-shower challenges.
| Preventive Technique | Description |
|---|---|
| Quick-dry Topcoat | Seal in nail color to prevent chipping in the shower |
| Reduce overall drying time for convenience |
Post-Shower Drying Time
To maintain the longevity and quality of a freshly painted manicure, one key drawback of painting nails before showering is the extended post-shower drying time required to ensure the nail polish sets completely. The exposure to steam and moisture during a shower can interfere with the nail polish drying process, leading to smudges, dents, or smears on the freshly painted nails. This extended drying time not only delays the completion of the manicure but also requires additional care to prevent any accidental damage to the nail polish. In a world where efficiency and quick results are highly valued, the need for prolonged drying times after painting nails before a shower can be seen as a hindrance to individuals seeking a fast and convenient manicure experience.
Advantages of Painting Nails After Shower
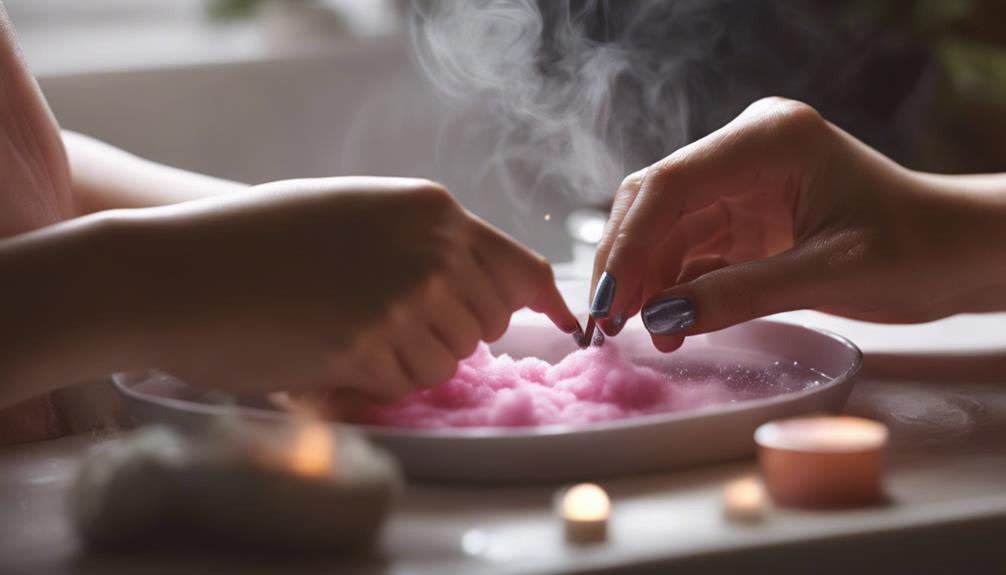
After taking a relaxing shower, the nails are optimally prepared for a polished and long-lasting application of nail color. Painting nails after a shower offers several advantages, enhancing the overall nail painting experience:
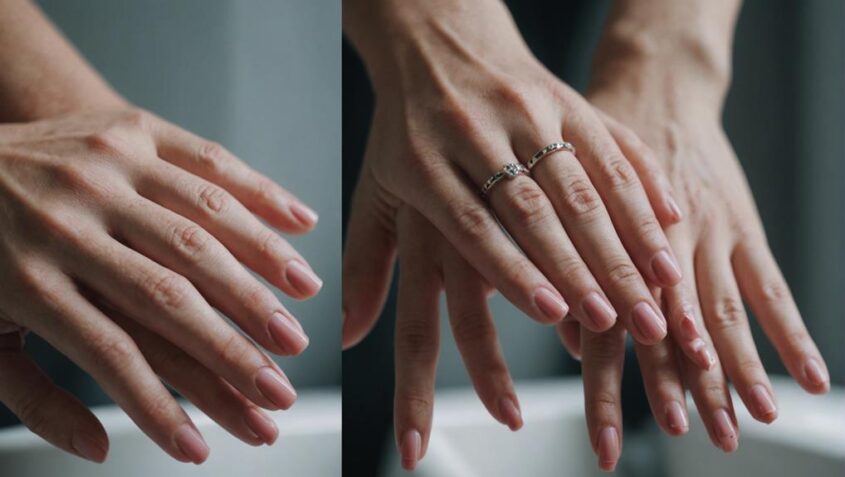
- Hydrated Nails: The moisture from the shower helps to hydrate the nails, making them more pliable and less prone to breakage during the painting process.
- Smooth Nail Surface: The warm water and steam from the shower can help soften any rough edges or ridges on the nails, providing a smoother canvas for the nail polish.
- Enhanced Nail Polish Adhesion: The shower helps to cleanse the nails, removing any oils or residue that could hinder the nail polish from adhering properly.
- Relaxed Atmosphere: Post-shower relaxation can create a calming environment, allowing for a more enjoyable and focused nail painting session.
- Longer Lasting Results: Painting nails after a shower can lead to a longer-lasting manicure, as the polish is more likely to bond effectively with the nail surface.
Disadvantages of Painting Nails After Shower
While painting nails after a shower offers numerous benefits, there are also some drawbacks to consider. One of the main disadvantages is the impact of water on the nail polish application. Moisture from the shower can linger on the nails even after drying them, leading to a less durable manicure. The nail polish may not adhere properly, resulting in chipping or peeling sooner than expected. Additionally, the heat and steam from a hot shower can cause the nail polish to bubble or not dry evenly, affecting the overall look of the manicure.
Another downside of painting nails after a shower is the potential for smudging. Since nails tend to absorb water, they can expand slightly, making the polish more prone to smudging if accidentally touched or bumped. This can be frustrating, especially after spending time carefully painting the nails. Furthermore, the oils and lotions used in the shower may create a barrier that prevents the nail polish from adhering correctly, leading to a shorter lifespan of the manicure.
Tips for Painting Nails Before Shower

When considering the ideal approach to nail painting, beginning the process before taking a shower can enhance the longevity and quality of the manicure. To ensure a flawless nail painting experience before showering, consider the following tips:
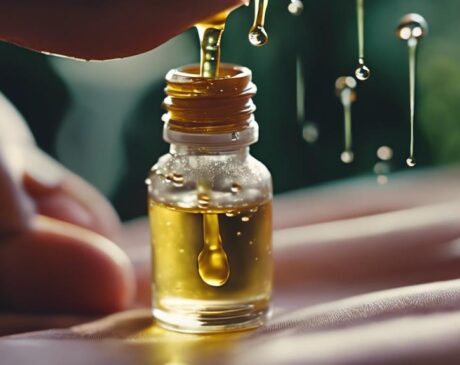
- Moisturize: Apply a hydrating cuticle oil or moisturizer to nourish your nails before painting.
- Base Coat Application: Start with a quality base coat to protect your nails and provide a smooth surface for the color.
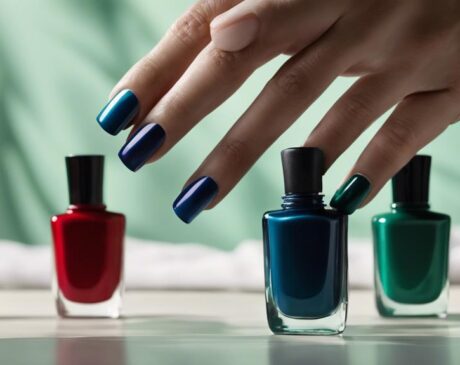
- Choose the Right Polish: Opt for high-quality nail polishes that are long-lasting and chip-resistant.
- Allow Sufficient Drying Time: Make sure each layer of polish is completely dry before applying the next coat.
- Seal with a Top Coat: Finish off your manicure with a top coat to add shine and prolong the wear of your nail color.
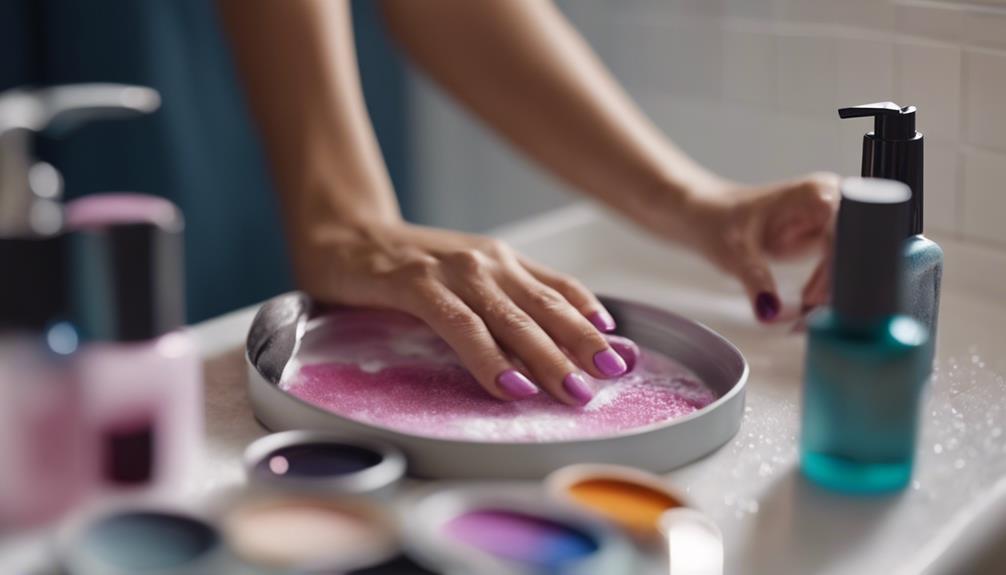
Tips for Painting Nails After Shower
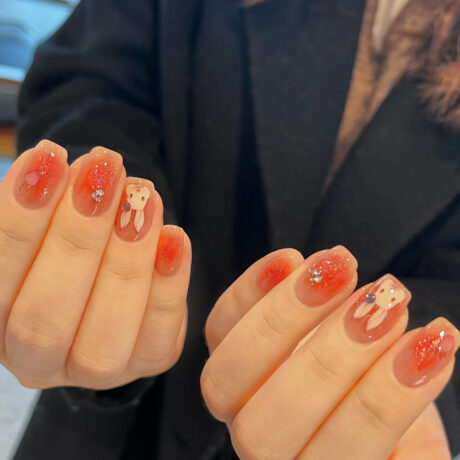
For optimal results when painting your nails after showering, ensure your nails are completely dry before starting the manicure process. Painting nails post-shower can be advantageous as the warm water helps soften the cuticles, making them easier to push back or trim. To enhance the longevity of your manicure, consider these innovative tips. Begin by gently buffing the nail surface to create a smooth base for the polish to adhere to. Apply a hydrating base coat to nourish the nails and prevent staining. When selecting a nail polish, opt for quick-drying formulas or use a top coat that dries quickly to minimize the risk of smudging. Embrace creativity by experimenting with nail art or trendy color combinations to elevate your manicure. Additionally, incorporate a nail drying spray or drops to accelerate the drying process and maintain a flawless finish. By following these innovative tips, you can achieve professional-looking nails that withstand the test of time.
Factors to Consider Before Painting Nails
Before embarking on a nail painting session, it is essential to consider certain factors to ensure a successful and long-lasting manicure. To achieve a flawless nail look that lasts, innovative individuals should pay attention to the following key factors:
- Nail Preparation: Properly clean and shape your nails before painting to ensure a smooth canvas.
- Base Coat Selection: Choose a high-quality base coat that suits your nail type to enhance polish adherence and prevent staining.
- Polish Quality: Opt for innovative, long-lasting nail polish formulas to prolong the wear time of your manicure.
- Drying Time: Allow each layer of polish to dry thoroughly before applying the next coat to prevent smudging and ensure a durable finish.
- Top Coat Application: Finish off your manicure with a top coat to seal in the color and add shine while extending the life of your nail polish.
Summary and Best Practices for Nail Painting
When it comes to painting your nails, timing is crucial for achieving the best results. Additionally, post-shower nail care plays a significant role in maintaining the longevity of your manicure. Understanding these points and incorporating them into your nail painting routine can help you achieve professional-looking results at home.
Timing for Best Results
Timing plays a crucial role in achieving optimal results when painting your nails. To ensure the best outcome for your manicure, consider the following best practices:
- Patience: Allow each coat to dry completely before applying the next layer.
- Precision: Use thin, even strokes to avoid streaks or clumps.
- Lighting: Paint your nails in a well-lit area to see any imperfections clearly.
- Environment: Choose a well-ventilated space to prevent dust or particles from sticking to wet nails.
- Time Management: Allocate sufficient time for the whole nail painting process to avoid smudges or dents.
Post-Shower Nail Care
After completing your shower routine, proper post-shower nail care is essential to maintain the longevity and quality of your nail painting. To ensure your nails remain flawless, gently pat them dry with a soft towel after showering to avoid any excess moisture that could affect the polish's adherence. Once dry, apply a hydrating cuticle oil to nourish and strengthen your nails, promoting a healthy canvas for your next nail art masterpiece. Additionally, consider using a quick-dry top coat to seal in your nail color and protect it from chipping. By incorporating these post-shower nail care steps into your routine, you can enhance the durability and vibrancy of your nail polish for days to come.
Frequently Asked Questions
Can I Paint My Nails in the Shower?
Painting nails in the shower may compromise the quality of the manicure due to water exposure. It is recommended to paint nails in a dry, well-ventilated area to ensure the polish adheres properly and lasts longer.
Will Painting Nails Before Shower Make Them Last Longer?
Painting nails before a shower can enhance longevity by allowing the polish to fully cure without exposure to water. This method promotes better adhesion and durability. Following this innovative approach may result in a longer-lasting manicure, satisfying your desire for innovation.
Is It Better to Use Cold or Hot Water for Nail Painting?
For optimal nail painting results, it is advisable to use cold water as it helps polish set faster. Cold water can promote a quicker drying time, leading to a longer-lasting finish on your nails.
Can I Apply Nail Polish Remover Before Showering?
Preparing nails for a fresh coat of polish can involve using nail polish remover before showering. This practice effectively removes any existing polish, oils, or residue from the nails, ensuring a clean canvas for the new color application.
Does the Humidity in the Bathroom Affect Nail Drying Time?
Humidity in the bathroom can indeed impact nail drying time. High humidity levels can prolong the drying process, leading to smudges or imperfections. To expedite drying, consider using a quick-dry top coat or ensuring proper ventilation.