Why Is My UV Lamp Not Curing My Nails?
If your UV lamp isn't curing your nails, check for common issues. Ensure your nails are directly under the lamp's light for precision. Expired UV bulbs may cause uneven curing; consider replacement. Adequate UV exposure is key, adjust hand position for even curing. Proper nail prep is essential for gel adhesion, cleanse and prime before curing. Apply gel in thin layers evenly, avoid rushing. Consider the wattage compatibility with your polish. Don't overcrowd nails under the lamp. Regular maintenance of the lamp is crucial for optimal performance. Additional insights can enhance your UV curing experience.
Key Takeaways
- Check UV bulb expiration for diminished curing power and replace if necessary.
- Ensure correct positioning under the lamp's light source for effective curing.
- Verify adequate cure time based on manufacturer's recommendations.
- Properly prepare nails with cleansing, sanitizing, and primer application.
- Apply gel in thin, even layers and avoid overcrowding nails for optimal curing.
Incorrect Lamp Positioning
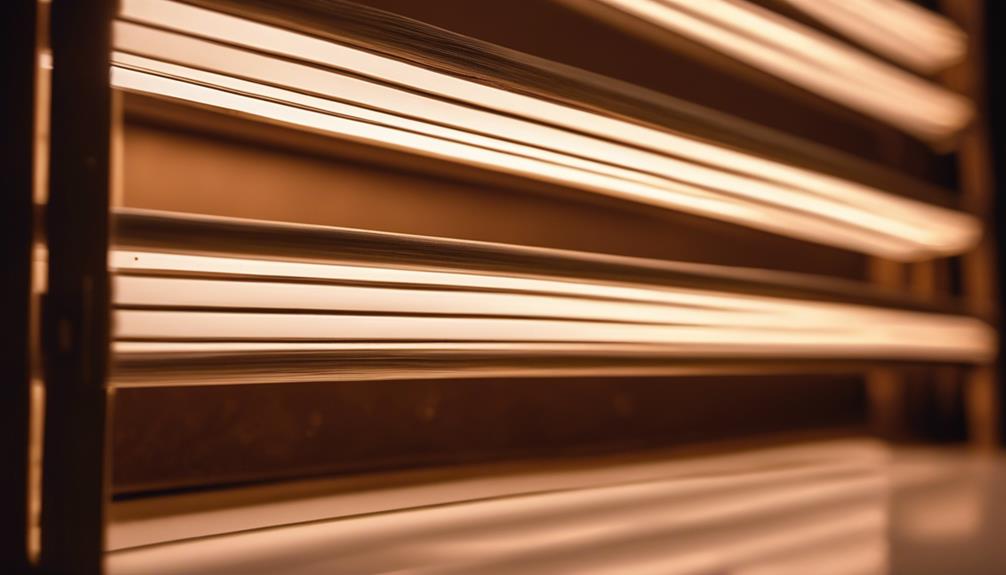
If you're experiencing issues with UV nail curing, improper lamp positioning could be the culprit. Achieving that flawless gel manicure requires precision not just in your nail art skills but also in how you position your UV lamp. To ensure optimal curing, make sure your nails are directly under the lamp's light source. It's vital that the UV light reaches every part of the nail evenly. Sometimes a small adjustment in the placement of your nails can make a huge difference in the curing process.
Additionally, consider the angle at which your nails are positioned under the lamp. Ensuring that the entire nail surface is exposed to the UV light will help prevent any uncured spots. Experiment with different angles to find the most effective position for your nails. Remember, innovation is key in solving these UV nail curing issues. So, don't be afraid to try new techniques and adjustments to perfect your gel manicure game.
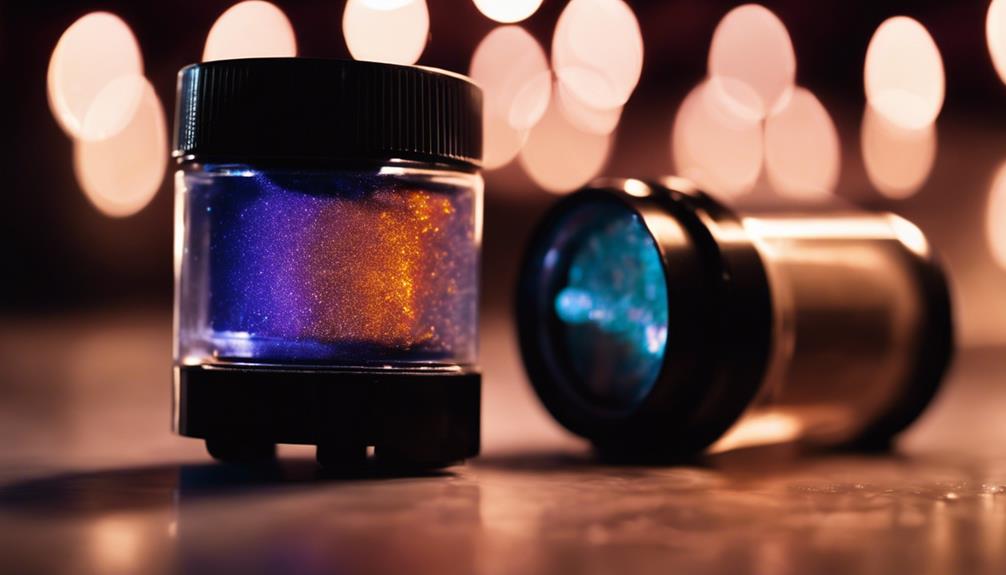
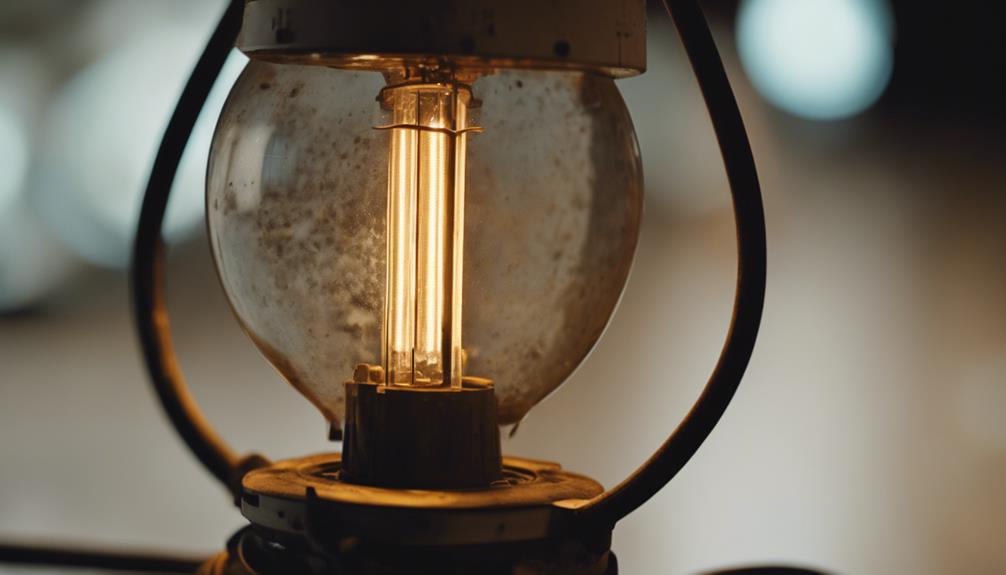
Expired UV Bulbs
When dealing with UV lamp nail curing issues, one common culprit to consider is the presence of expired UV bulbs. Using expired UV bulbs can significantly impact the curing process, leading to unsatisfactory results. It's crucial to ensure that your UV bulbs are in optimal condition to achieve the best nail curing outcomes.
To help you understand the impact of expired UV bulbs, let's take a look at the table below:
| Issue | Description | Solution |
|---|---|---|
| Diminished Curing Power | Expired UV bulbs lose their strength over time | Replace the UV bulbs with new ones |
| Uneven Curing | Different areas of the nails may not cure properly | Rotate or change the position of the UV bulbs |
| Increased Cure Time | Expired bulbs may require longer curing times | Extend the curing time or replace the UV bulbs |
Checking and replacing expired UV bulbs regularly is essential for maintaining the effectiveness of your UV lamp and ensuring flawless nail curing results.
Insufficient Cure Time
To ensure proper nail curing results, it's crucial to address any issues related to insufficient cure time promptly. If you find that your nails aren't setting as expected, it could be due to not allowing them enough time under the UV lamp. Modern gel nail polishes are designed for efficiency, but they still need adequate exposure to UV light for complete curing. To tackle this, ensure that each nail receives ample time under the lamp. Try rotating your hand or adjusting the position of your fingers to guarantee uniform exposure. Additionally, check the manufacturer's recommendations for the optimal curing time as it can vary based on the gel polish brand or type. By being diligent and mindful of the cure time, you'll maximize the effectiveness of your UV lamp for flawless, long-lasting nails. Remember, a little extra time under the light can make a significant difference in the durability of your manicure.
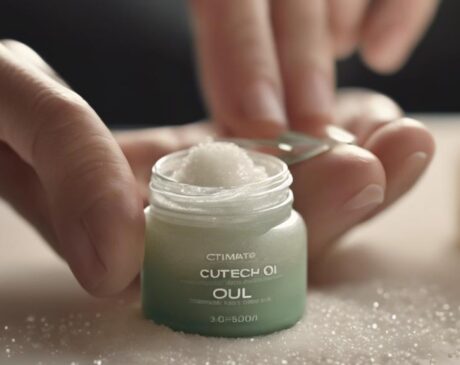
Inadequate Nail Preparation
If your nail preparation is inadequate, you might be skipping crucial steps like thoroughly cleansing your nails or properly buffing them. These practices are essential for ensuring proper adhesion of the gel polish and preventing lifting or peeling issues. Make sure to prioritize nail cleansing and buffing to achieve optimal results when using a UV lamp for nail curing.
Lack of Nail Cleansing
Neglecting proper nail cleansing before using a UV lamp for nail curing can result in subpar results and potential issues with the application. To ensure optimal outcomes, consider the following:
- Residue Removal: Thoroughly clean nails to eliminate any oils or debris.
- Sanitization: Use a nail cleanser to sanitize the nail bed before applying any products.
- Primer Application: Apply a nail primer to enhance adhesion and longevity of the manicure.
- Dryness Check: Ensure nails are completely dry before proceeding with the UV lamp curing process.
Incomplete Nail Buffing
When preparing for UV lamp nail curing, ensuring thorough nail buffing is essential for optimal results. Incomplete nail buffing can lead to poor adhesion of the gel polish, causing it to lift or chip prematurely. To avoid this issue, make sure to buff the entire surface of your nails gently but effectively. Focus on removing any shine or oils from the nail plate to create a rougher surface for the gel polish to adhere to. By taking the time to properly buff your nails, you are setting the foundation for a long-lasting and flawless manicure when using a UV lamp for curing. Remember, attention to detail during the preparation stage can make a significant difference in the final outcome of your nail treatment.
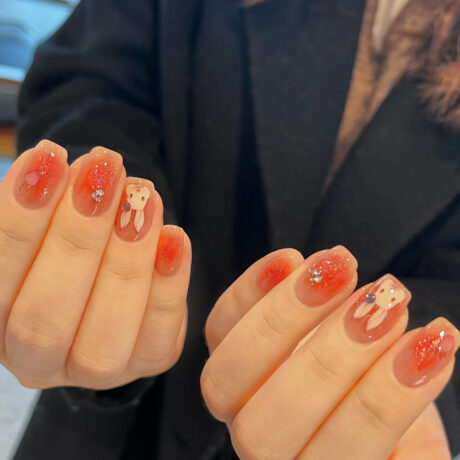
Incorrect Gel Application
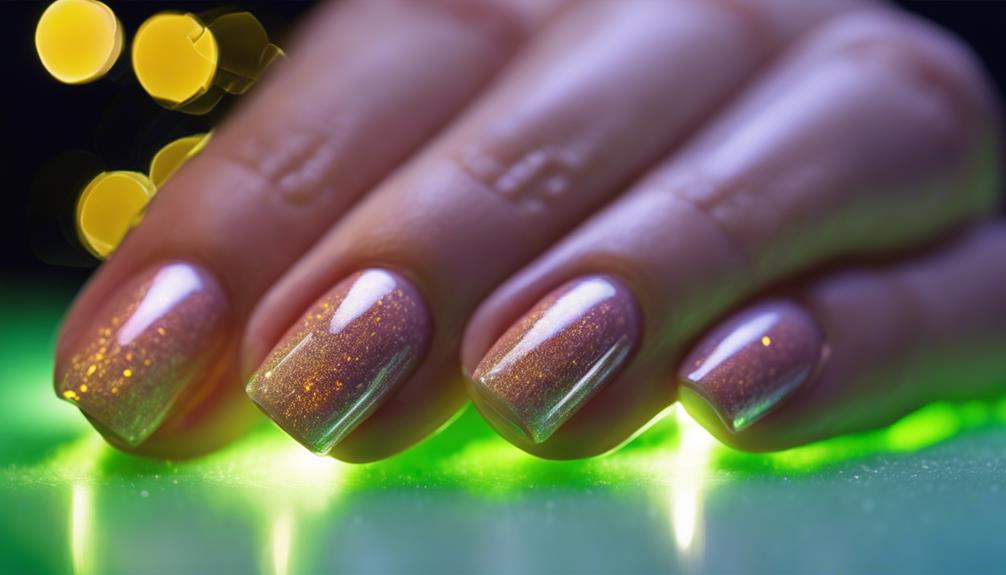
When applying gel to your nails, make sure to maintain an even thickness throughout to ensure uniform curing. Also, be cautious not to rush the curing process; each layer needs adequate time under the lamp. Lastly, pay attention to your hand positioning under the UV lamp to guarantee all angles receive proper exposure.
Uneven Gel Thickness
To achieve a smooth and even nail finish, ensure that you apply the gel correctly without any inconsistencies in thickness. When the gel coating varies in thickness, it can lead to curing issues under a UV lamp. Here are some key points to consider:
- Consistent Application: Apply the gel in thin, even layers across the entire nail surface.
- Avoid Overbuilding: Resist the temptation to apply thick layers of gel which can lead to uneven curing.
- Use Proper Techniques: Employ techniques like the 'floating' method to ensure an even distribution of gel.
- Practice Precision: Pay attention to detail, especially around the edges, to maintain uniform thickness for optimal curing results.
Not Enough Curing Time
If you rush through the gel application process, you may find that the curing time under the UV lamp is insufficient, resulting in potential issues with your nails not curing properly. To ensure your nails cure effectively, take your time when applying each layer of gel. Make sure each coat is thin and even to allow for thorough curing under the UV lamp. Rushing through this step can lead to the gel not curing completely, leaving your nails feeling tacky or sticky. By giving each layer the time it needs to cure properly, you'll achieve beautifully cured nails that are ready to flaunt. Remember, patience is key for flawless nail results under the UV lamp.
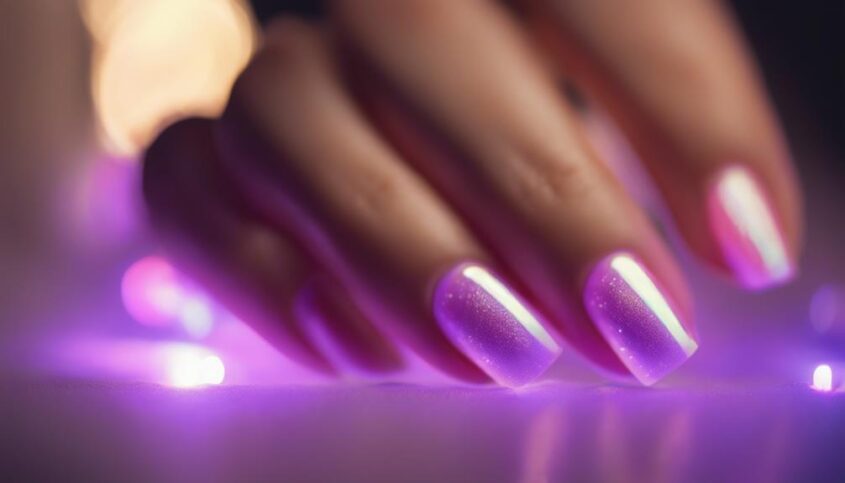
Improper Hand Positioning
Improper positioning of your hands during gel application can lead to uneven coverage and inconsistent curing under the UV lamp. To ensure optimal results, consider the following:
- Angle Matters: Hold your hand flat to allow the gel to spread evenly.
- Avoid Shadow Zones: Ensure the UV light reaches all areas by positioning your fingers correctly.
- Mind the Edges: Pay attention to the sides and tips of your nails for uniform curing.
- Center Stage: Place your nails in the middle of the lamp for consistent exposure.
Lamp Wattage Mismatch
When selecting a UV lamp for nail curing, ensure the wattage matches the requirements of the nail polish being used. A common issue leading to ineffective curing is a mismatch in lamp wattage. If the lamp wattage is too low, the nail polish may not cure properly, leaving you with sticky or smudged nails. On the other hand, if the lamp wattage is too high, it can cause overheating, leading to discomfort or even skin damage.
To avoid this problem, always check the wattage recommendations provided by the nail polish manufacturer. Some gel polishes require higher wattage lamps for proper curing, while others work best with lower wattage options. Investing in a lamp with adjustable settings can offer versatility for curing different types of nail polish effectively.
Overloading the Lamp
To prevent issues with UV lamp nail curing, be mindful of overloading the lamp with too many nails at once. When you place too many nails in the lamp, it can lead to improper curing and unsatisfactory results. To ensure optimal curing performance, consider the following:
- Limit the Number of Nails: Avoid overcrowding the lamp by curing a reasonable number of nails at a time.
- Rotate Nail Placement: Rotate the position of your nails within the lamp during the curing process to ensure all nails receive adequate exposure.
- Use Proper Spacing: Maintain proper spacing between nails to allow the UV light to reach each nail effectively.
- Consider Multiple Curing Sessions: If you have many nails to cure, consider dividing them into smaller batches and curing them in separate sessions for better results.
Lamp Maintenance Issues
Regular maintenance is essential to ensure the optimal performance and longevity of your UV nail curing lamp. Neglecting maintenance can lead to decreased curing efficiency and potentially even lamp failure. To keep your UV lamp in top condition, start by regularly cleaning the lamp's bulbs and reflectors with a soft, lint-free cloth and gentle cleanser. This simple step helps maintain the lamp's efficacy by ensuring that UV light can penetrate unobstructed. Additionally, check the bulbs for any signs of damage or aging, as worn-out bulbs can result in uneven curing or incomplete polymerization of your nail polish. It's also crucial to inspect the lamp's timer and sensor functionalities to guarantee accurate curing times and consistent results. Lastly, follow the manufacturer's guidelines for replacing bulbs or other components to prevent malfunctions. By staying proactive with maintenance, you can ensure that your UV nail curing lamp continues to deliver flawless results while prolonging its lifespan.
Frequently Asked Questions
Can Using a UV Lamp With Higher Wattage Cure Nails Faster?
Using a UV lamp with higher wattage can potentially cure nails faster. The increased power output allows for quicker curing times, but be cautious not to overexpose your nails to avoid damage or burning.
How Often Should UV Lamp Bulbs Be Replaced?
To keep your UV lamp working efficiently, replace bulbs every 6-12 months. Regular changes ensure optimal curing power for your nails. Stay ahead of fading light so you can enjoy flawless finishes without frustration.
Does Gel Application Technique Affect Curing Results?
Improper gel application technique like thick layers or uneven coverage can affect curing results in UV lamps. To ensure optimal curing, apply thin, even coats, avoid flooding cuticles, and cap the free edge for better results.
Can Using Too Much Gel Cause Curing Problems?
When you apply excess gel, your UV lamp might struggle to cure all layers efficiently. Less is often more in nail curing – a thin, even coat ensures proper curing and longer-lasting results.
What Are Common Maintenance Issues With UV Lamps?
Regularly check your UV lamp for proper bulb functionality and cleanliness. Ensure the timer is accurate and replace bulbs as needed. Clean the lamp surface and reflectors for optimal curing performance.