Can you take off press-on nails easily?

In a world where beauty and self-expression are highly valued, press-on nails have become a popular trend. These convenient DIY nails offer a quick and affordable way to achieve stunning manicures without having to use traditional acrylic or gel nails. However, a common concern among nail art enthusiasts is whether removing press-on nails is as easy as painting them. In this article, we’ll explore the world of press-on nails, their application, and most importantly, how to remove them easily and safely.
The Appeal of Press-On Nails
Press-on nails have taken the beauty industry by storm for a number of reasons. They are an excellent option for those who want to experiment with different nail styles without wanting a long manicure. Here’s what makes them so appealing:
1. Convenience
Press-on nails can be done in the comfort of your home without the need for a salon appointment. For individuals with busy schedules, this convenience is a game changer.
2. Versatility
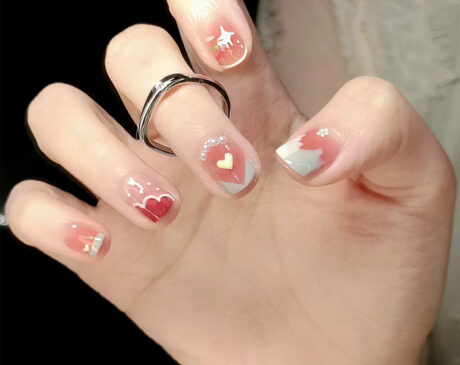
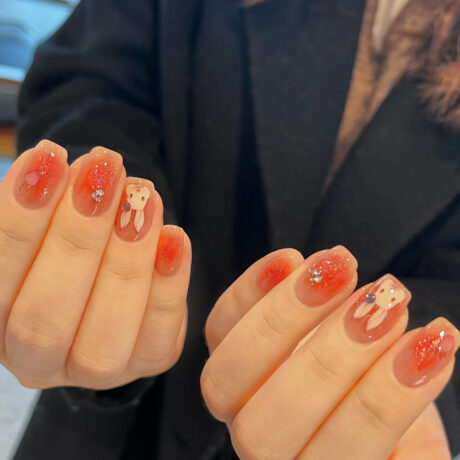
Press-on nails are available in a wide range of designs, colors and shapes to suit every style preference. You can change the look as often as you need to.
3. Affordability
Press-on nails are more cost-effective than traditional salon nails. You get salon-quality manicure results at a fraction of the price.
4. No Damage
press on nails do not damage your natural nails, making them a great choice for those who want to maintain healthy nails.
The Challenge: Removing Press-On Nails
While using press-on nails is easy, removing them can be a bit tricky. Many people face the dilemma of wanting to change their nails but being afraid of removing them. Here’s how to remove press-on nails easily and safely:
1. Gather your supplies
Before you begin, make sure you have the following items:
- Acetone-based nail polish remover
- Cotton balls or pads
- Aluminum foil
- Wooden cuticle sticks
2. Trimming and filing
If your press-on nails are long, consider trimming them to a more manageable length. Use a nail file to gently file the top coat to break the seal.
3. Soak in Acetone
Moisten a cotton ball or pad with acetone nail polish remover and place it on the press-on nail. Wrap the nail in aluminum foil to hold it in place. Repeat this process for all nails.
4. Wait patiently
Let the acetone work its magic for about 15-20 minutes. This will soften the adhesive and make it easier to remove.
5. Gently Remove
After soaking, use a wooden cuticle stick to gently push the pressed-in nail away from the natural nail. Be patient and avoid applying pressure as this can damage your nails.
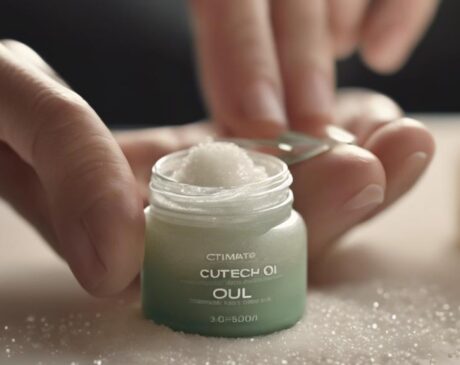
6. Cleanse and moisturize
After removing all press-on nails, clean your natural nails with a mild nail buffer. Finish by applying a nourishing cuticle oil to keep your nails healthy.
Frequently Asked Questions
Q1: Can I reuse the press-on nails?
Yes, you can reuse presser nails if they are carefully removed. Remove any residual adhesive and they should be ready to use for other applications.
Q2: Are press-on nails safe for natural nails?
Yes, press-on nails are generally safe for natural nails because they do not require harsh chemicals or drilling.
Q3: How long do press-on nails last?
Press-on nails can last anywhere from a few days to two weeks, depending on how they are used and maintained.
Q4: Can I use press-on nails for swimming or bathing?
It is best to avoid prolonged contact with water as it can weaken the adhesive. If possible, wear waterproof gloves if necessary.
Q5: Is there any secret to making pressed nails last longer?
To extend the life of your nails, make sure your natural nails are clean and dry before using press-on nails and avoid applying excessive force to your nails.
Overall, press-on nails offer a great way to express your style with minimal input. Removing them can be a simple process if you follow the right steps and take your time. Enjoy experimenting with different nail designs and have fun decorating your look.