How Do You Make Nail Glue at Home?
Create your own nail glue at home by combining gelatin, water, cornstarch, clear polish, and baking soda in precise proportions for strength and durability. Thoroughly mix the ingredients for a uniform consistency and consider factors like drying time. Proper mixing techniques with glycerin and a suitable storage method ensure longevity. Apply the homemade glue to clean, dry nails, ensuring even distribution and proper pressure for a secure hold. Prioritize nail care, drying time, and explore nail art options. Master the art of homemade nail glue for a personalized and cost-effective nail adhesive solution.
Key Takeaways
- Use gelatin, water, and cornstarch for adhesive properties and consistency.
- Mix with clear polish and baking soda for durability.
- Ensure thorough mixing and proper proportions for strength.
- Apply to clean, dry nails evenly for best results.
- Allow proper drying time and finish with a glossy top coat.
Ingredients Needed
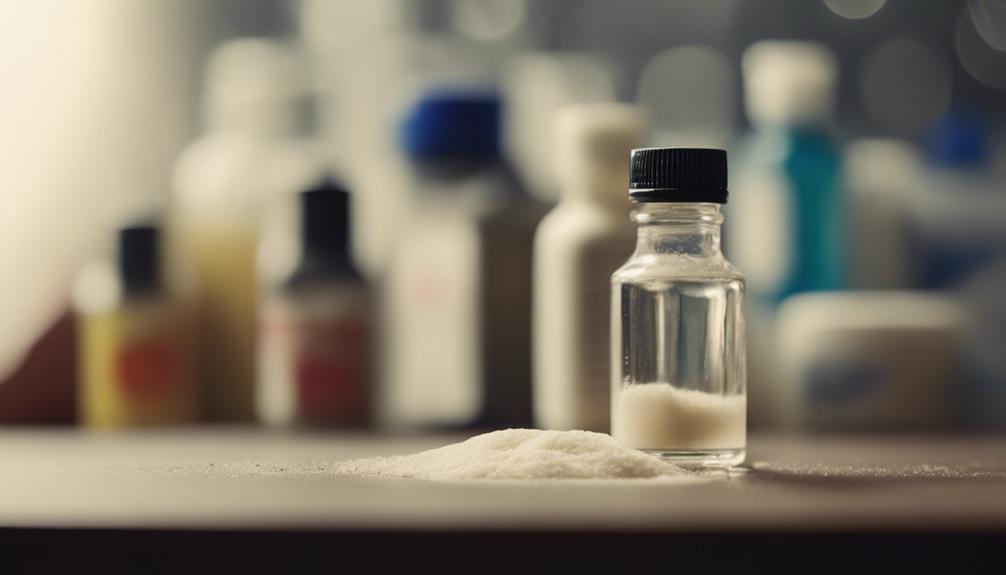
When attempting to prepare homemade nail glue, gathering the essential ingredients is the initial step towards achieving a successful outcome. For individuals seeking homemade glue alternatives and cost-effective options, DIY nail adhesive made from natural ingredients can be a game-changer. One popular natural ingredient used in DIY nail glue is gelatin, which provides a strong adhesive quality without the harsh chemicals often found in commercial products. Another common ingredient is cornstarch, which helps create a thick and sticky consistency essential for adhering false nails securely.
Innovative individuals looking to create their own nail glue at home can also explore the use of clear polish and baking soda as ingredients. Clear polish adds a glossy finish to the adhesive, while baking soda helps in creating a durable bond between the natural nail and the artificial extension. By incorporating these natural and cost-effective ingredients, DIY enthusiasts can craft a nail glue that suits their preferences while avoiding the potentially harmful chemicals present in some commercial products.
Preparation Steps
Let's now shift our focus to the next crucial phase of creating nail glue at home: the Preparation Steps.
This section covers essential points such as gathering the Ingredients Needed and following the Mixing Instructions meticulously.
Ingredients Needed
To create homemade nail glue, the essential ingredients and preparation steps must be carefully considered. When looking for alternative solutions or cost-effective alternatives, homemade recipes can offer a creative and personalized touch. Here is a table showcasing the ingredients needed for making nail glue at home:
| Ingredients | Purpose |
|---|---|
| 1. Gelatin | Provides adhesive properties |
| 2. Water | Dilutes and helps in mixing |
| 3. Cornstarch | Thickens the mixture for better consistency |
These ingredients are commonly found in households, making this homemade nail glue recipe accessible and convenient. By combining these simple components, you can create a DIY nail glue that meets your specific preferences and needs.
Mixing Instructions
For optimal results in creating homemade nail glue, the precise mixing instructions must be executed with accuracy and attention to detail. When combining the ingredients, ensure that the proportions are exact to achieve the desired adhesive strength.
It's essential to mix the components thoroughly to guarantee a uniform consistency in the nail glue. Remember to follow the recommended temperature guidelines during mixing to prevent any adverse effects on the adhesive properties.
While homemade nail glue offers a cost-effective solution, it's crucial to weigh the pros and cons compared to store-bought options. Consider the durability and drying time as factors influencing your choice between alternative adhesives.
Mixing the Glue
To successfully create nail glue at home, it is essential to understand the key points related to mixing the ingredients.
This includes knowing the specific ingredients required for making the glue, mastering the proper mixing technique to ensure the glue's effectiveness, and understanding the best practices for storing the homemade adhesive to maintain its quality and longevity.
Ingredients for Mixing
One essential step in preparing homemade nail glue involves gathering the necessary ingredients for mixing. When seeking nail glue alternatives, a homemade recipe can provide a cost-effective and customizable solution. For a DIY nail adhesive, the ingredients typically include gelatin, water, and a few drops of glycerin for flexibility.
Gelatin acts as the adhesive agent, offering a strong bond, while water helps achieve the desired consistency. The addition of glycerin enhances the adhesive's flexibility, crucial for enduring everyday tasks without compromising the nail application. By carefully selecting and combining these ingredients, individuals can create a reliable homemade solution that caters to their specific nail care needs, promoting innovation and creativity in the beauty industry.
Proper Mixing Technique
When moving on to the proper mixing technique for creating homemade nail glue, the key lies in mastering the process of blending the gelatin, water, and glycerin to ensure a cohesive and effective adhesive solution. To help you achieve the perfect nail glue consistency, here are some mixing tips and drying techniques:
| Mixing Tips | Drying Techniques |
|---|---|
| Stir gently | Allow sufficient drying time |
| Heat slightly for better blending | Use a fan for quicker drying |
| Check for lumps | Avoid contact with water during drying |
Before application, ensure you perform consistency checks and follow the recommended application methods to get the best results. Mastering these techniques will elevate your homemade nail glue game significantly.
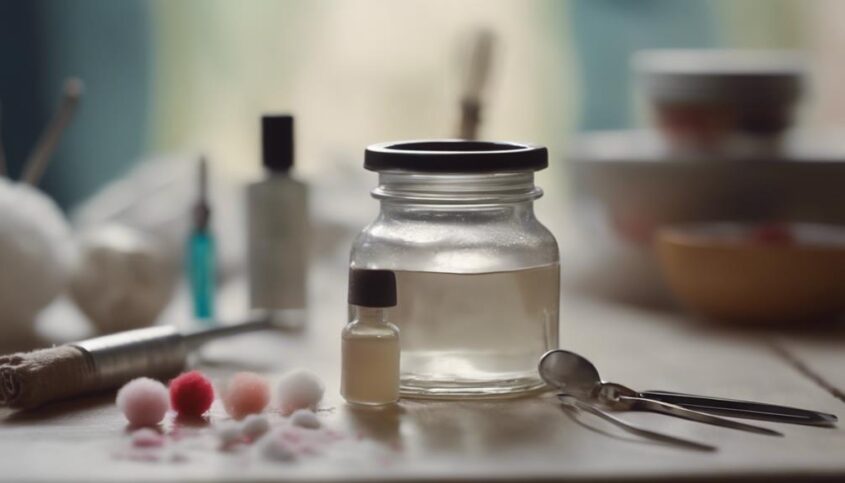
Storage of Homemade Glue
Proper storage of homemade glue is essential to maintain its adhesive properties and longevity. To ensure an extended glue shelf life, store the adhesive in a cool, dry place away from direct sunlight and extreme temperatures.
Seal the container tightly after each use to prevent air exposure that could lead to premature drying. Consider labeling the container with the date of preparation for easy tracking.
Additionally, exploring homemade adhesive alternatives like starch-based or flour-based glues can offer eco-friendly options with similar effectiveness. By following these storage practices and considering alternative homemade adhesives, you can maximize the usability and effectiveness of your DIY glue creations.
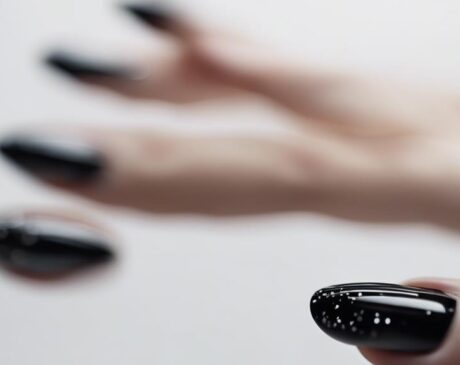
Applying the Glue
To ensure a secure and precise application, it is essential to follow the recommended steps for applying nail glue correctly. Nail application starts with preparing your nails by ensuring they are clean and dry.
Next, apply a small amount of glue to the natural nail bed, avoiding contact with the skin. When applying glue to artificial nails, use a small bead in the center and gently spread it towards the edges. It is crucial to use the right amount of glue to prevent excess from seeping out when the nail is pressed down. Remember, less is more when it comes to glue application.
Additionally, ensure the glue is evenly distributed to avoid air bubbles that can weaken the bond. Once the nail is in place, hold it firmly for a few seconds to allow the glue to set. Following these steps will help you achieve a professional and long-lasting nail application.
Securing the Nail
To ensure the nail stays firmly in place, proper pressure must be applied during the securing process. When securing adhesives, it is crucial to follow nail care techniques to maintain a long-lasting and professional finish. Applying the right amount of pressure evenly across the nail ensures that the adhesive bonds effectively, preventing any lifting or premature detachment. Here is a table showcasing essential nail care techniques to enhance the securing process:
| Nail Care Techniques | Description | Benefits |
|---|---|---|
| Gentle buffing | Lightly smooth the nail surface before applying adhesives | Enhances adhesion and longevity of the nail |
| Cuticle oil | Apply cuticle oil to nourish and hydrate the nail bed | Promotes healthy nail growth and prevents dryness |
| Proper sizing | Select nails that fit each nail bed perfectly | Prevents discomfort and ensures a secure fit |
| Correct application | Use the right amount of adhesive and apply pressure evenly | Ensures strong bond and prevents lifting |
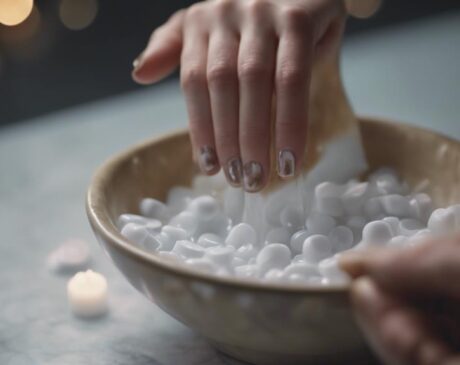
Drying Time
When ensuring the nail stays firmly secured, the duration required for the adhesive to dry properly plays a significant role in maintaining the longevity and quality of the nail application. For a quick application and long-lasting hold, it is essential to consider the drying time of the nail glue. Proper ventilation can contribute to faster drying, ensuring that the nail is securely in place without the risk of smudging or displacement. Adequate airflow helps the adhesive cure efficiently, reducing the overall time needed for the nail glue to set completely.
To optimize the drying time, it is recommended to work in a well-ventilated area with good air circulation. This environment facilitates the evaporation of solvents in the glue, speeding up the drying process. Additionally, avoiding thick layers of glue can also help expedite drying, as thinner applications dry more quickly and evenly. By paying attention to drying time and creating the ideal setting for adhesive curing, you can achieve a professional finish that lasts.
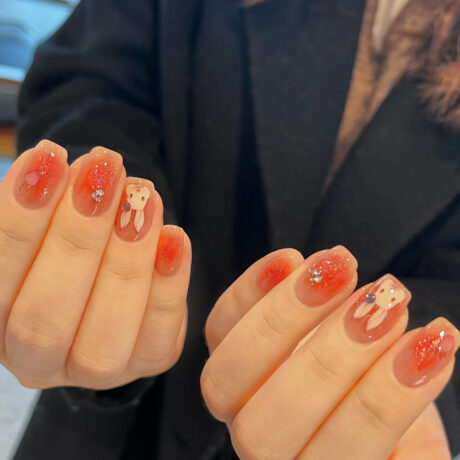
Final Touches
Implementing meticulous attention to detail during the final touches is crucial to achieving a flawless and polished nail application. To elevate your nail game and make your DIY manicure stand out, consider the following nail designs, color choices, nail care, and maintenance tips:
- Experiment with Nail Designs: Get creative with different nail art techniques such as ombre, marble, or geometric patterns to add a unique touch to your nails.
- Play with Color Choices: Opt for trendy or classic nail polish shades that complement your style and outfit, or try color-blocking for a bold statement.
- Prioritize Nail Care: Keep your nails healthy and strong by regularly moisturizing your cuticles, filing them in one direction, and using a strengthening base coat.
- Embrace Maintenance Tips: Extend the life of your manicure by applying a top coat every few days to prevent chipping and keeping your nails clean and dry.
- Personalize Your Look: Express your personality through your nails by incorporating your favorite colors, symbols, or even tiny gems for added flair.
Frequently Asked Questions
Can This Homemade Nail Glue Be Easily Removed Without Damaging the Nails?
When considering the removal process of nail glue, it is crucial to prioritize nail health. Homemade nail glue can be removed with gentle acetone-based solutions to minimize nail damage, contrasting with commercial options that may require more effort. Application tips can facilitate a smooth removal process.
How Long Does the Homemade Nail Glue Typically Last Before Needing to Be Reapplied?
When considering the longevity of homemade nail glue, it's crucial to focus on its application technique. Proper maintenance and attention to detail during application can enhance durability. Like a sturdy foundation, a well-applied nail glue can last for weeks before needing reapplication.
Are There Any Specific Precautions or Allergies to Consider When Using Homemade Nail Glue?
When using homemade nail glue, it is crucial to consider potential skin irritation and allergy concerns. Safety precautions such as patch testing, proper ventilation, and using ingredient substitutions for allergens are essential to ensure a safe application process.
Can This Homemade Nail Glue Be Used for Artificial Nails as Well?
Innovative DIY nail art enthusiasts can explore the potential of homemade nail glue for artificial nails. Consider its durability and cost-effectiveness when creating intricate designs. Experimentation with homemade solutions may lead to unique and creative nail art expressions.
Are There Any Alternatives to the Ingredients Listed for Those With Sensitivities or Preferences?
For those with sensitivities or preferences, ingredient substitutions can offer alternatives in homemade nail glue. Preferred materials can replace allergenic components, addressing sensitivity concerns and allergy precautions. Innovating with safe, effective options enhances customization and inclusivity.
Conclusion
In conclusion, creating nail glue at home requires a few simple ingredients and steps. By mixing the ingredients thoroughly and applying the glue carefully, you can secure your nails with ease. Allow the glue to dry completely before adding any final touches.
The end result will be a strong and long-lasting bond that will make your nails look professionally done. Creating your own nail glue at home is a convenient and cost-effective way to achieve salon-quality results.